50mm f/1.8

This guide provides step-by-step instructions for disassembling and reassembling a Canon 50mm f/1.8 lens.
Step 0: Requirements
Lens, Triple zero Phillips screwdriver, Plastic Prytool (Or equivalent)
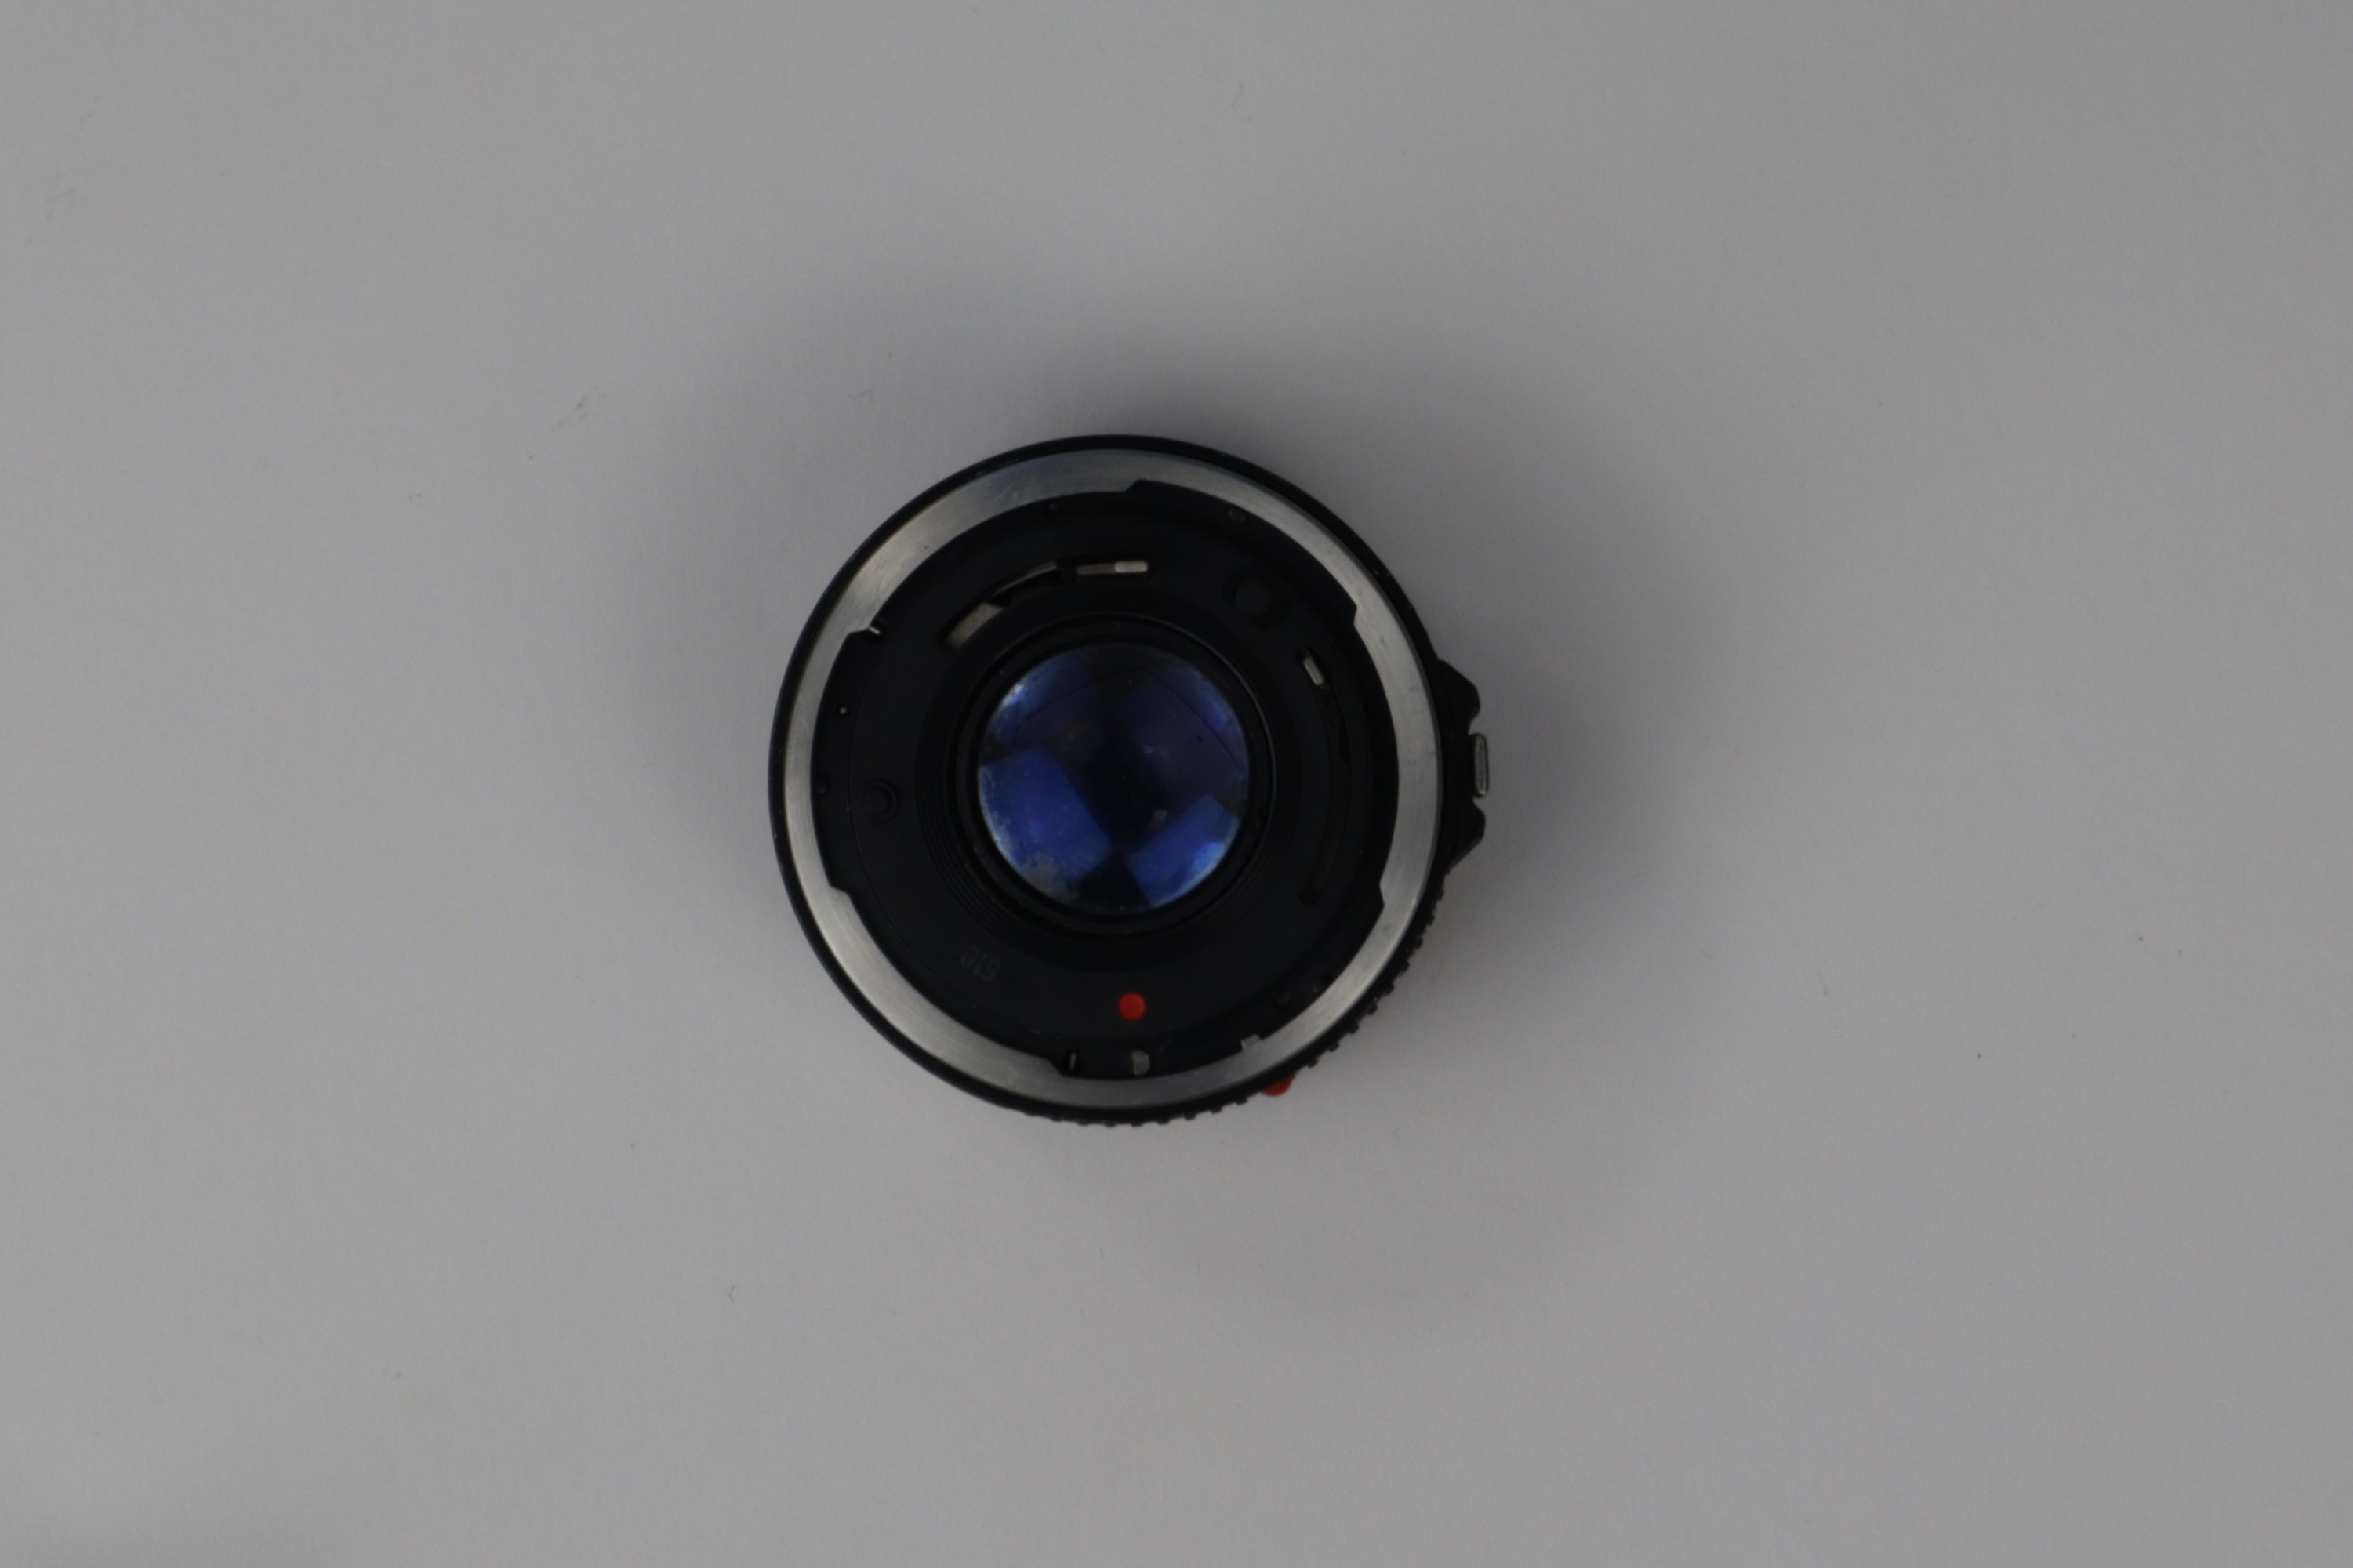
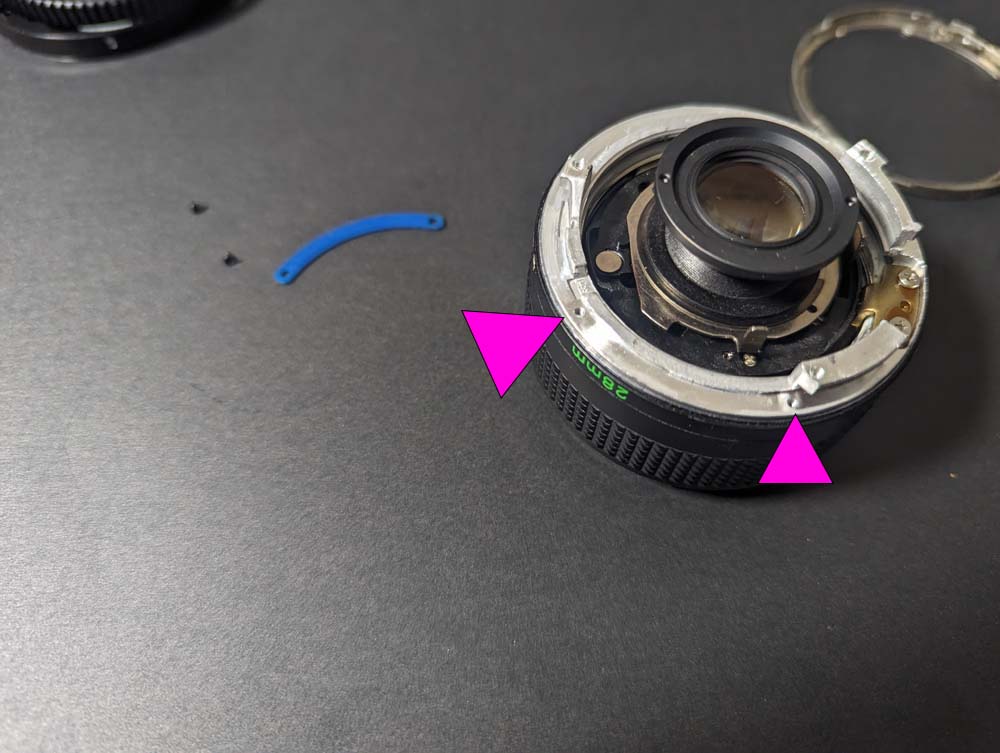
Step 1: Remove Screws
Remove the three screws outlined in the image.
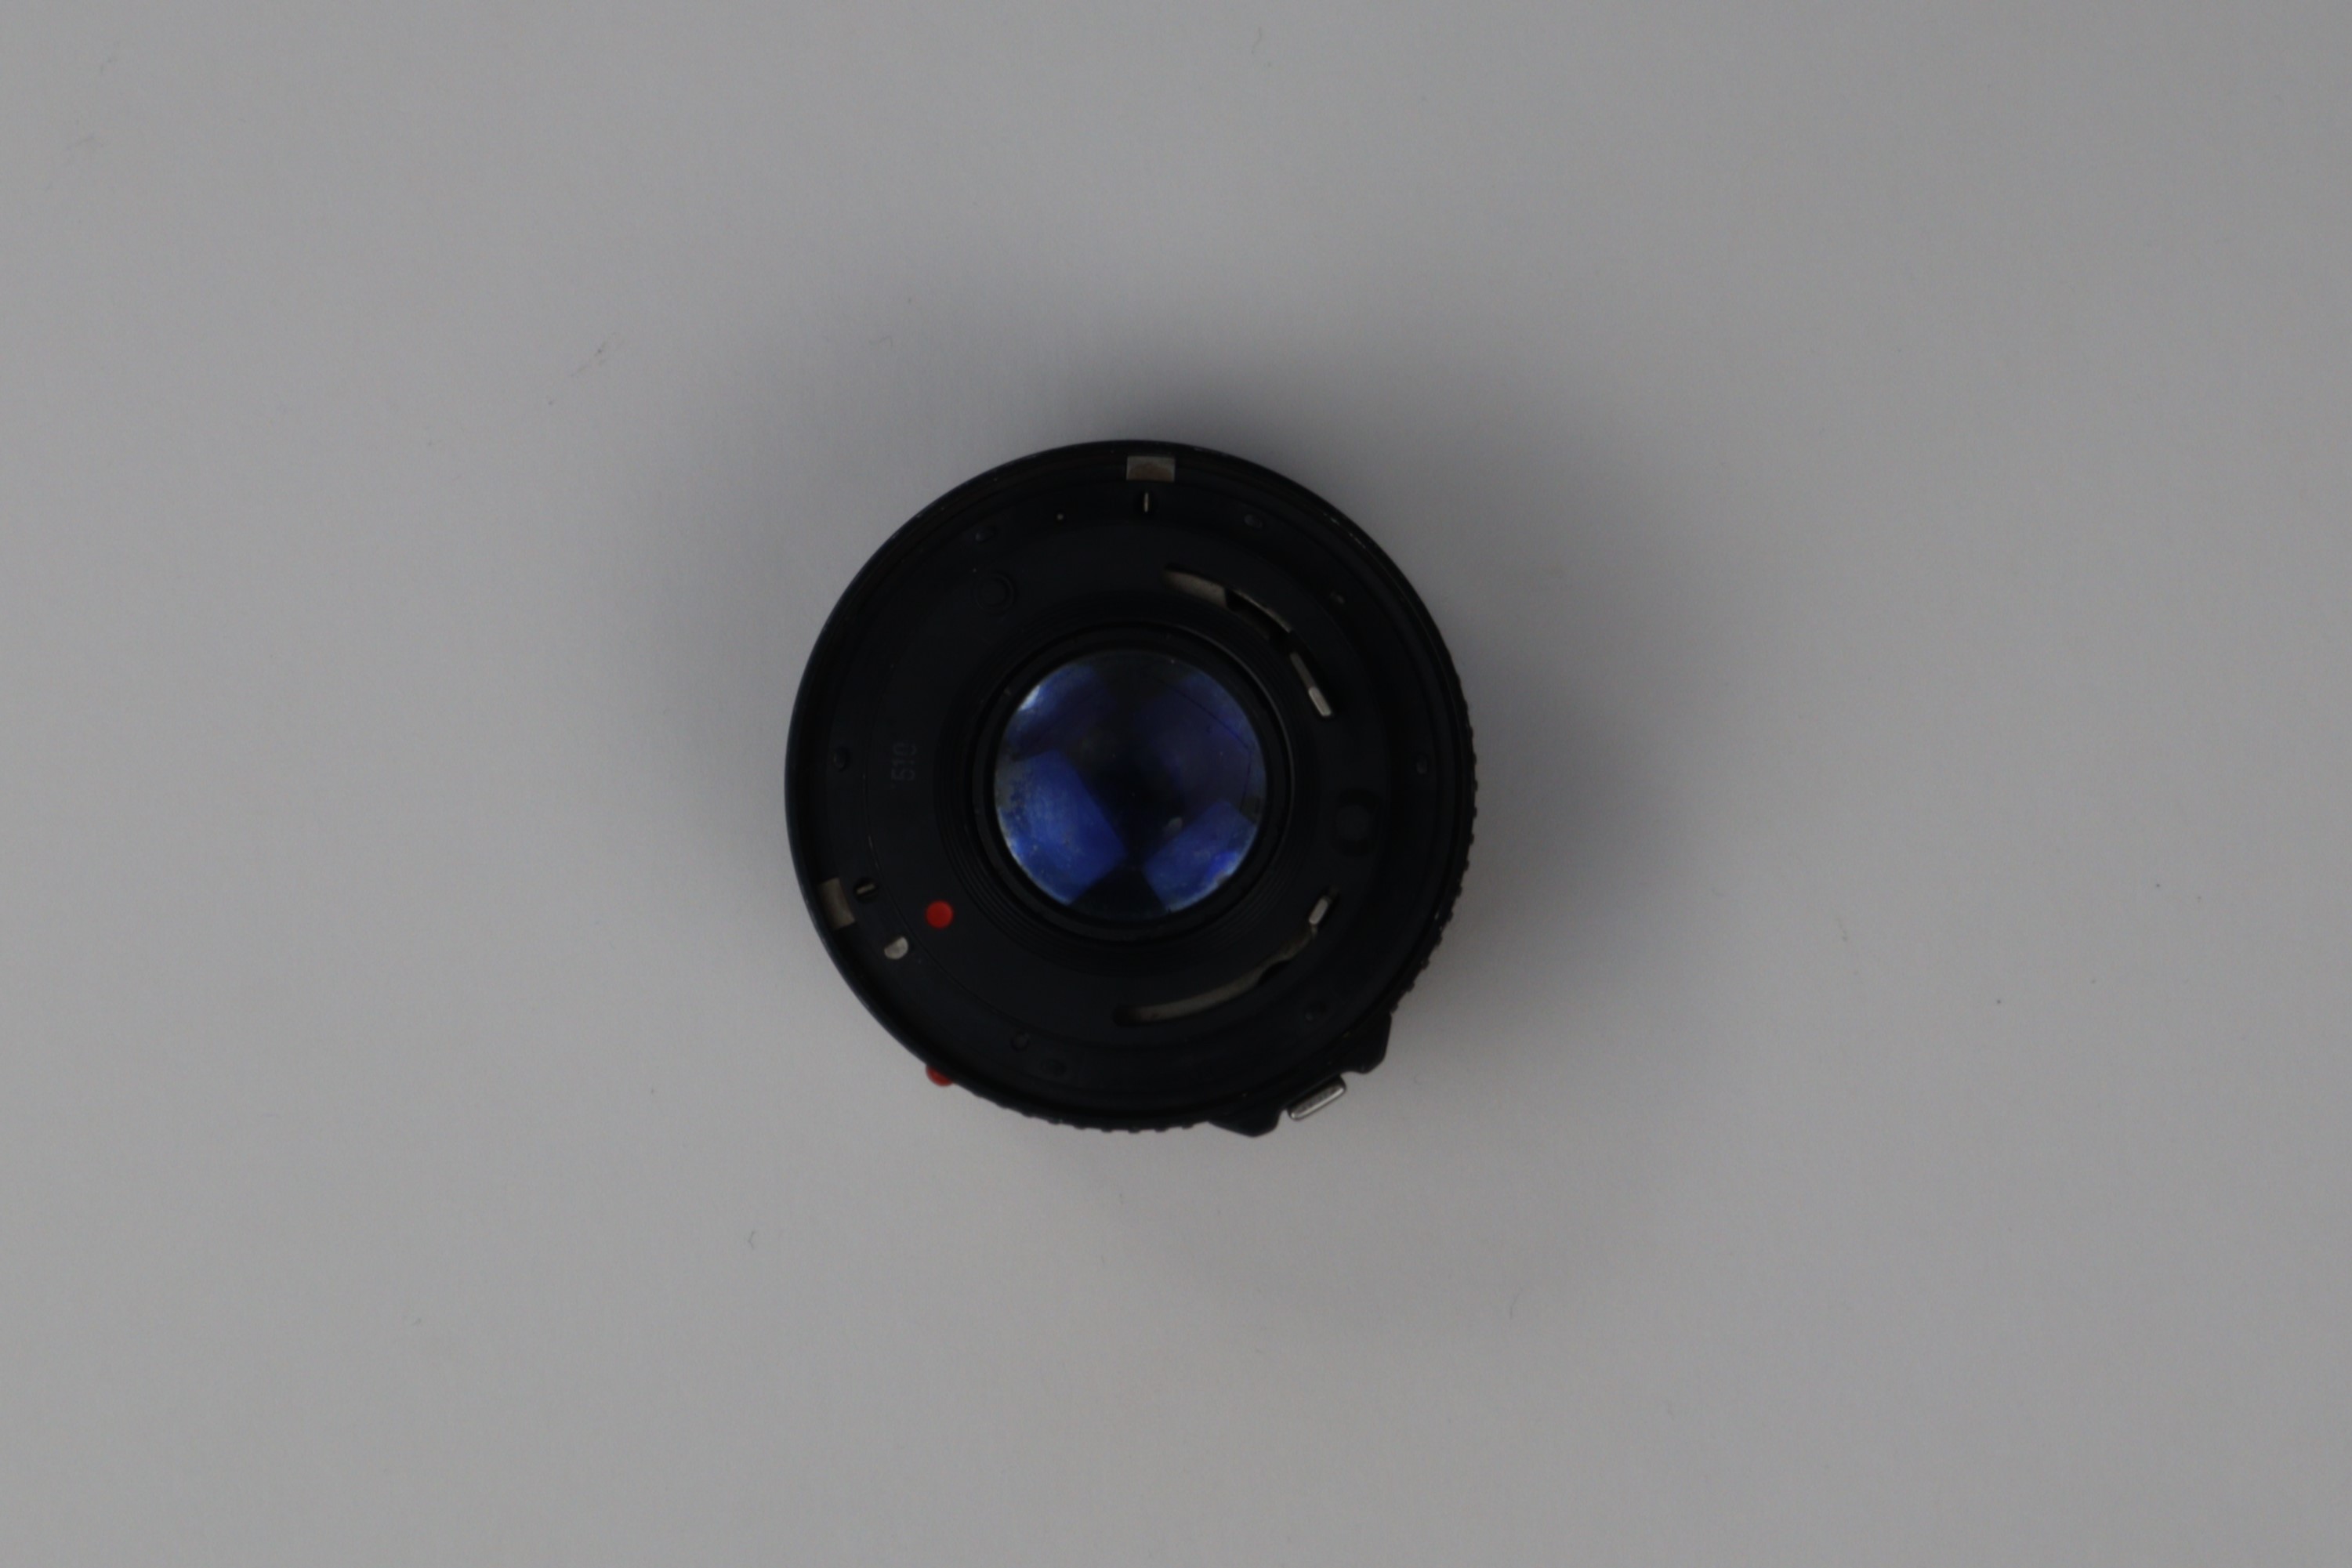
Step 2: Remove Retaining Ring
Use a plastic prytool to remove the silver retaining ring by applying upward force evenly.
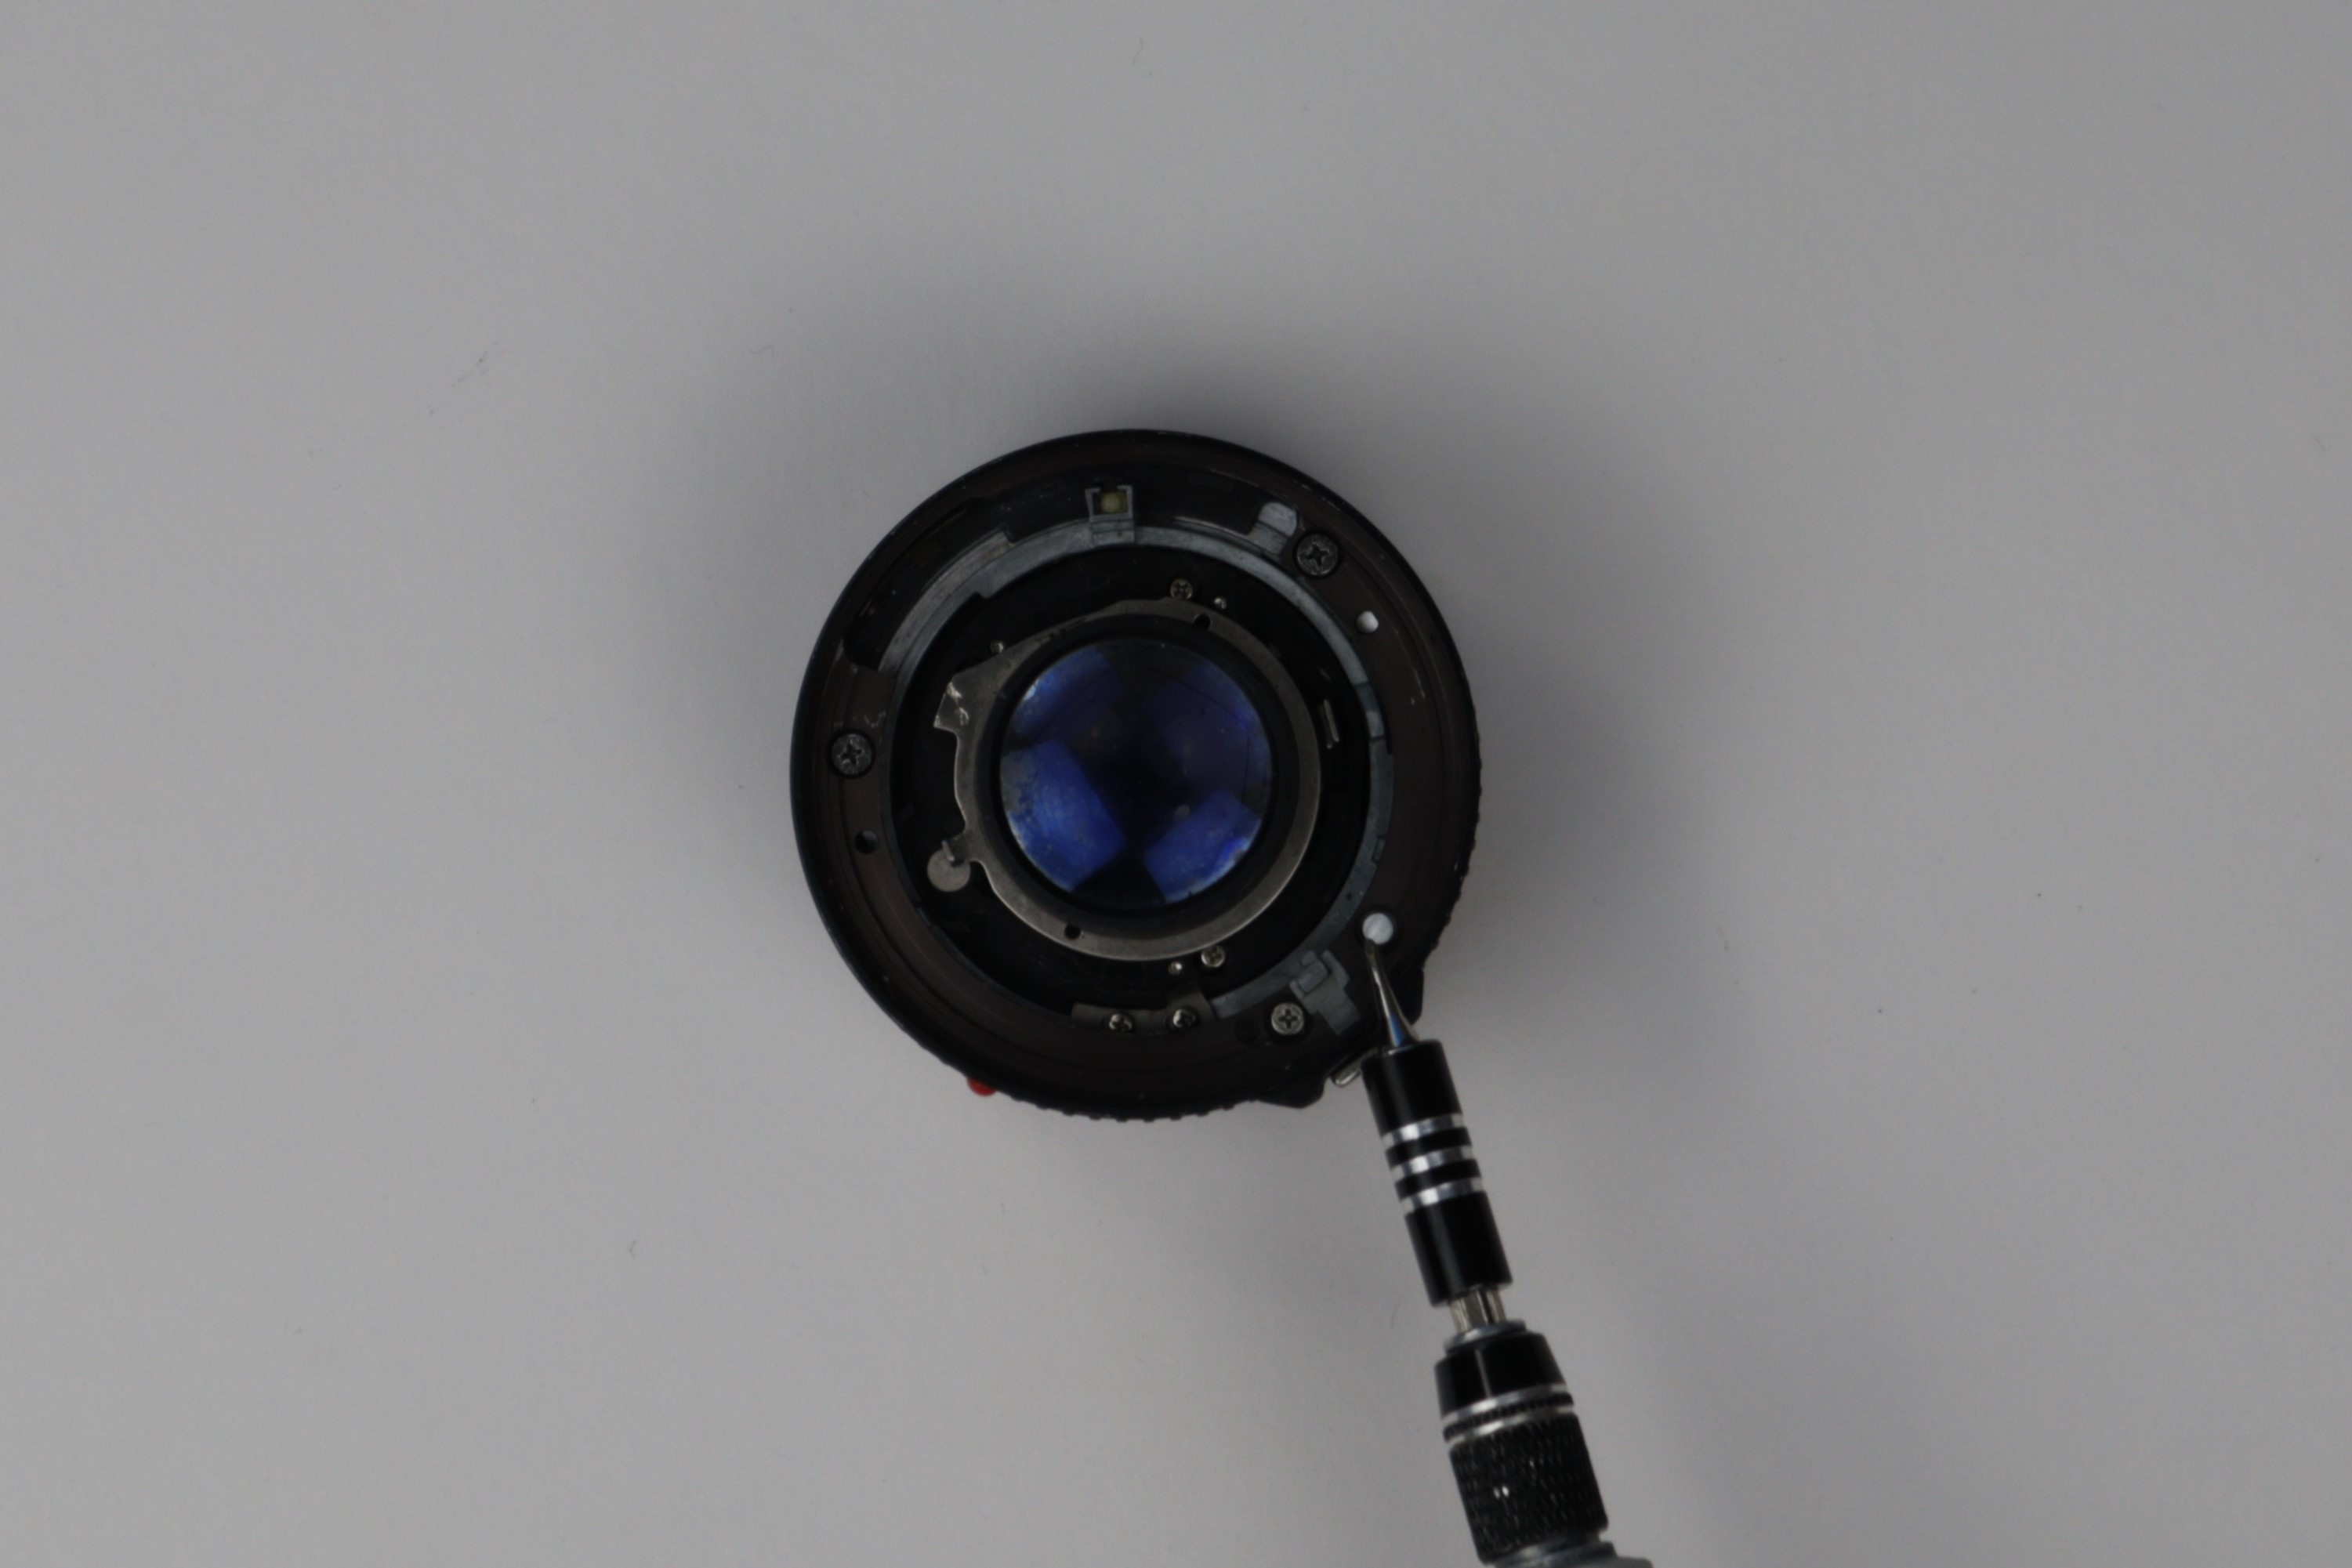
Step 3: Remove Aperture Control Interface
Remove the automatic aperture control interface using an orthodontal twisting motion (this piece is under spring tension).
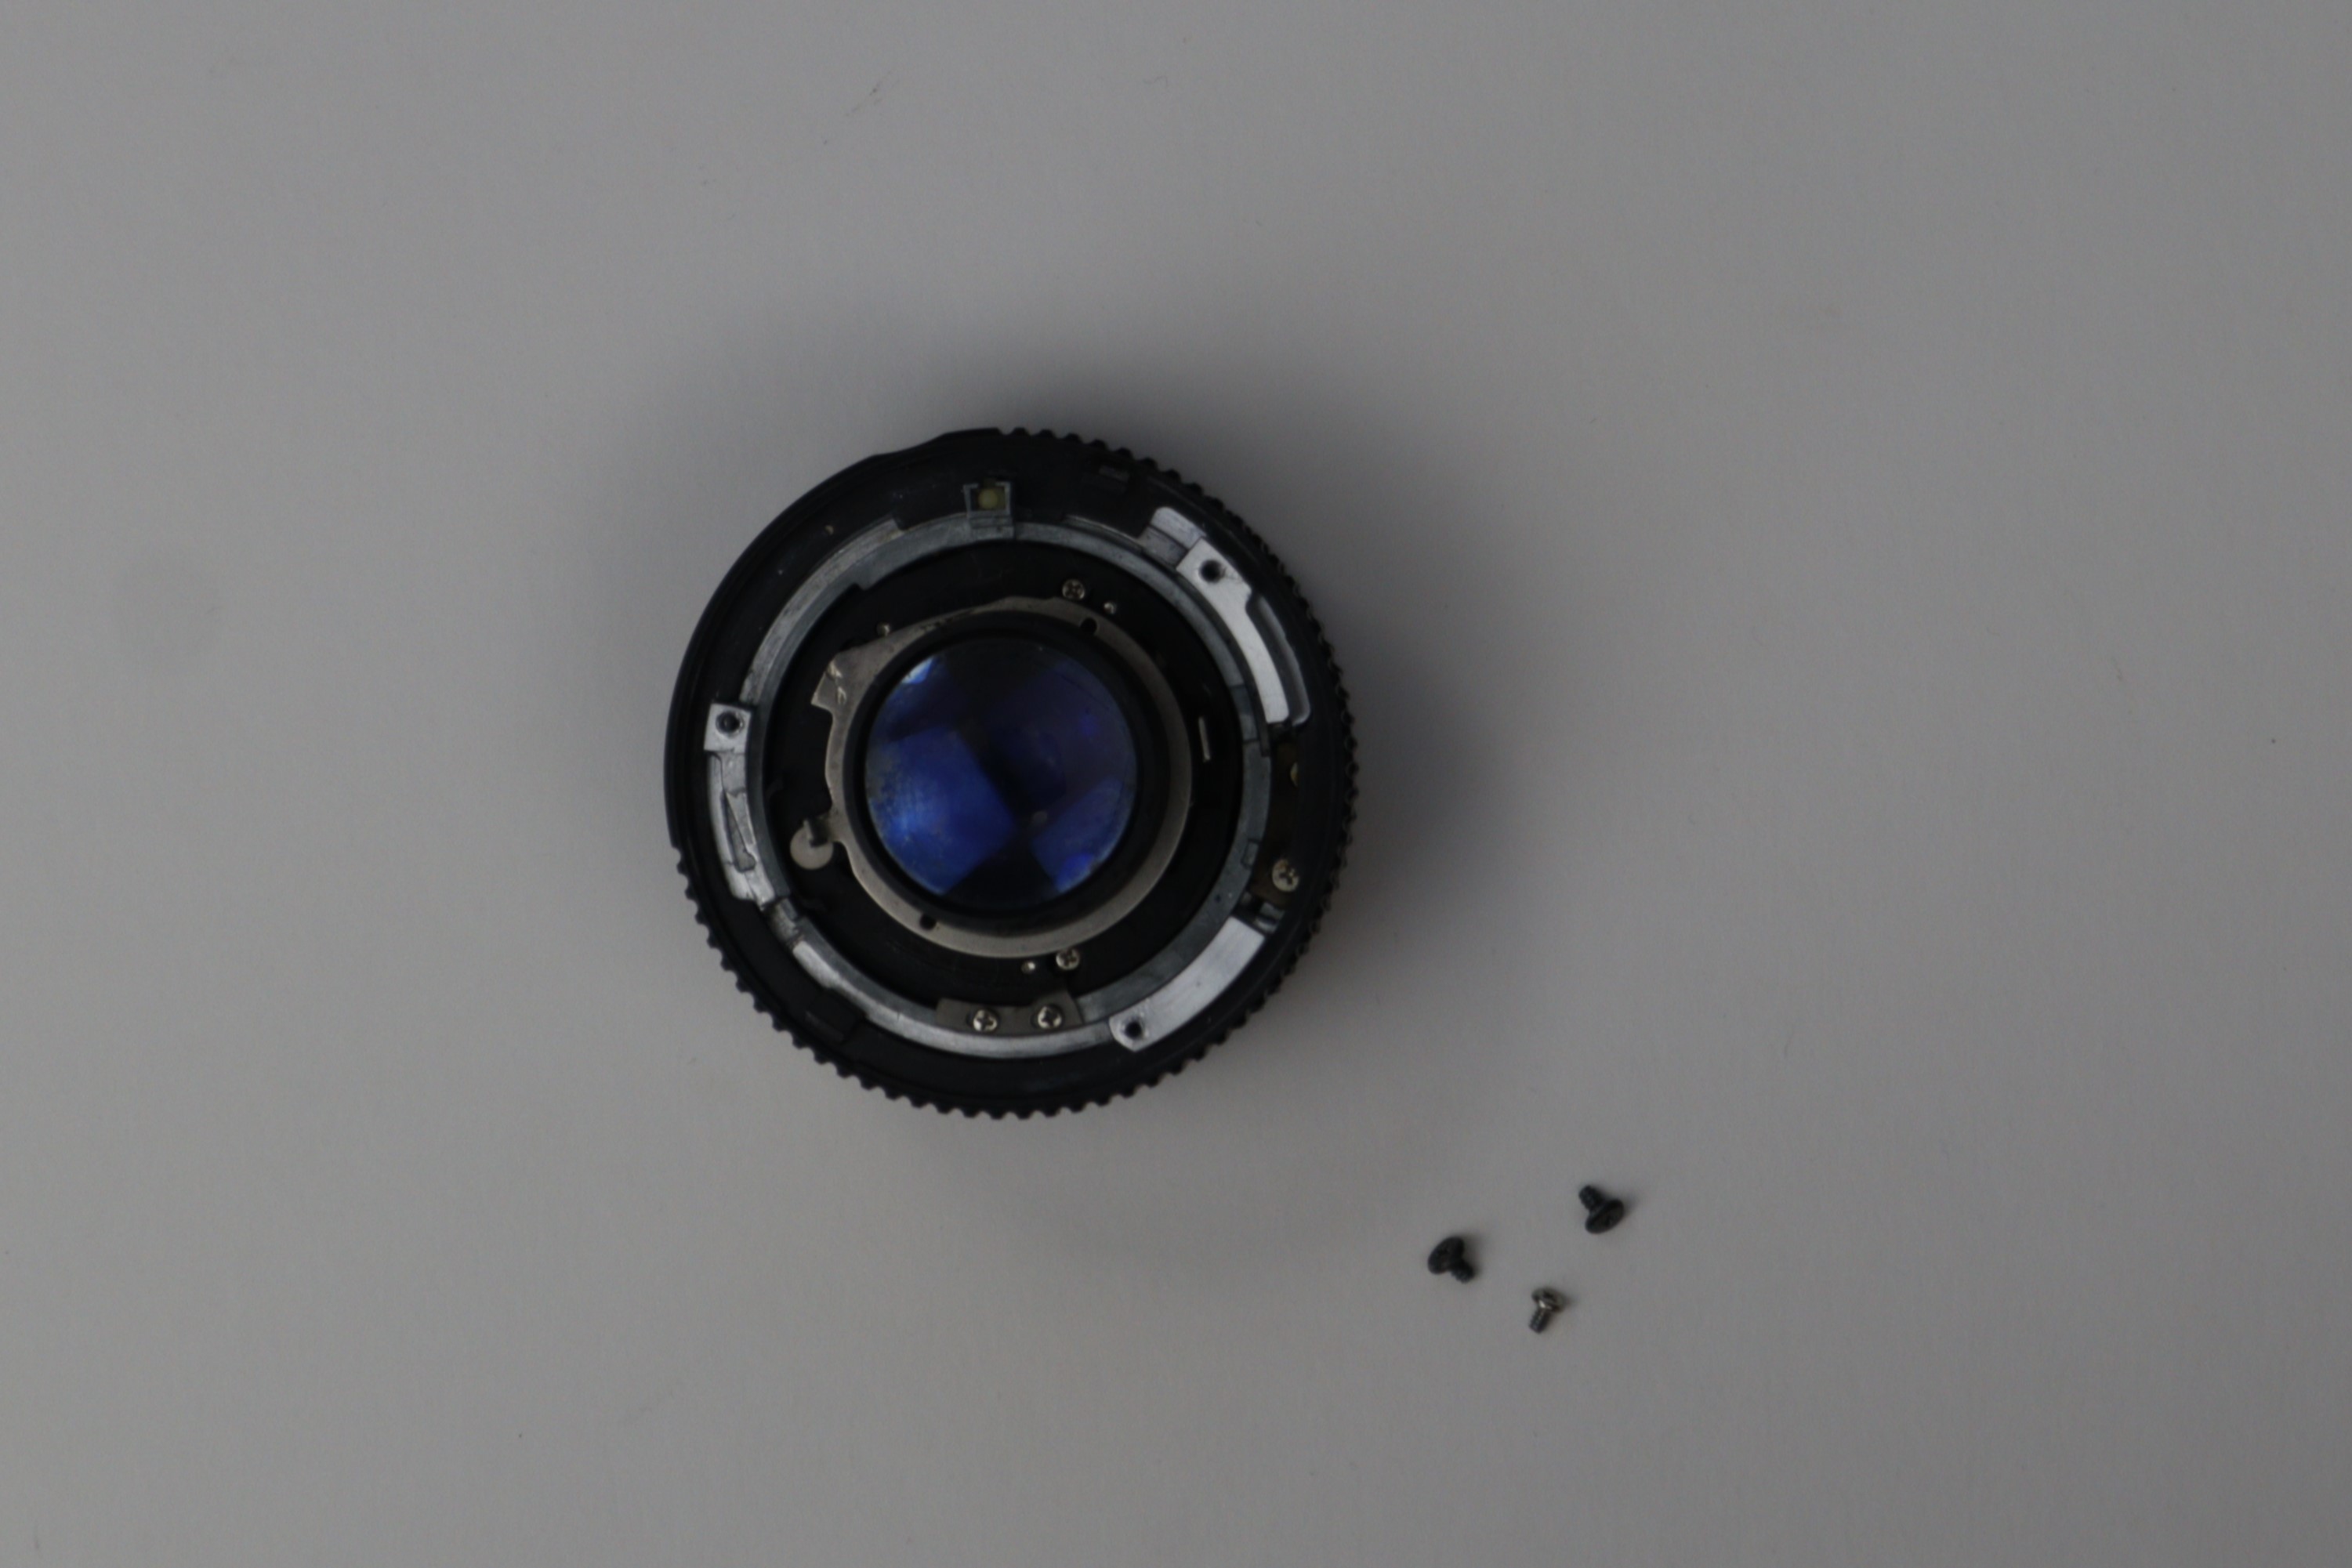
Step 4: Remove Screws for Aperture
Remove three screws to prepare for the new lens mount installation.
Step 5: Remove Inner Aperture Control Ring
Remove the inner aperture control ring.
Step 6: Remove Outer Aperture Control Ring
Remove the outer aperture control ring.
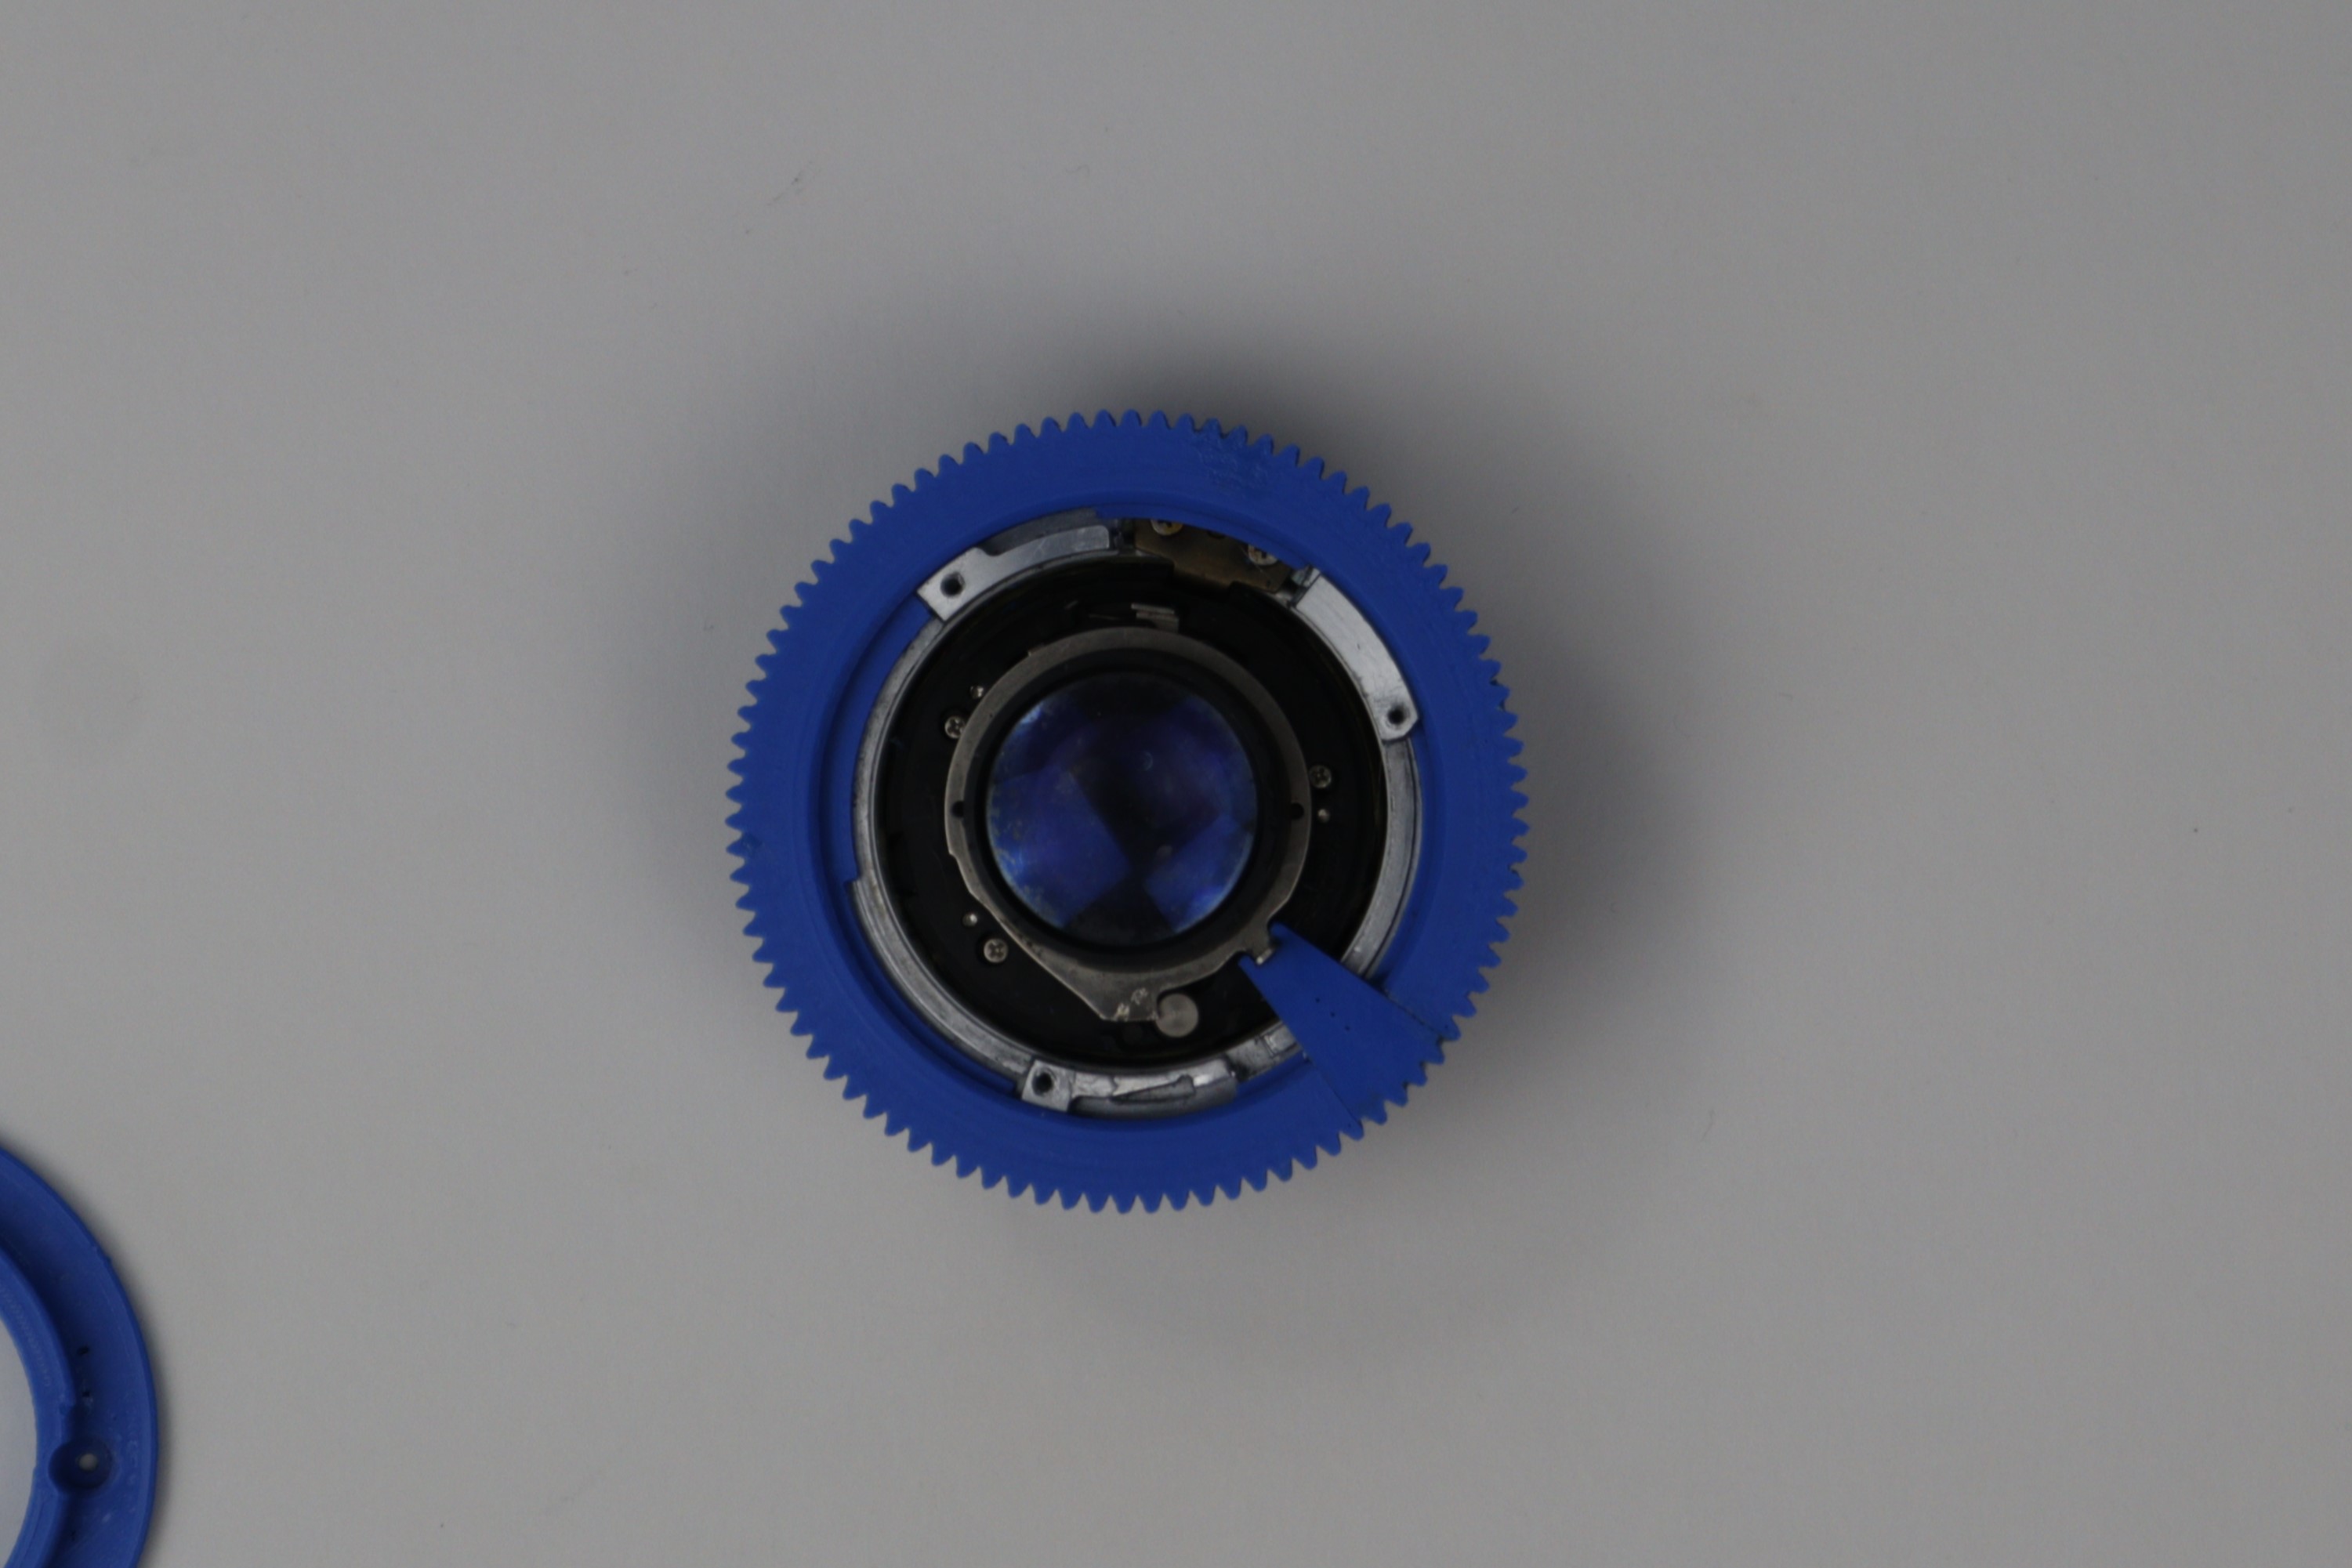
Step 7: Remove Screws for Aperture Control Click
Remove the two screws for the aperture control click (image from 28mm f/2.8 as an example).
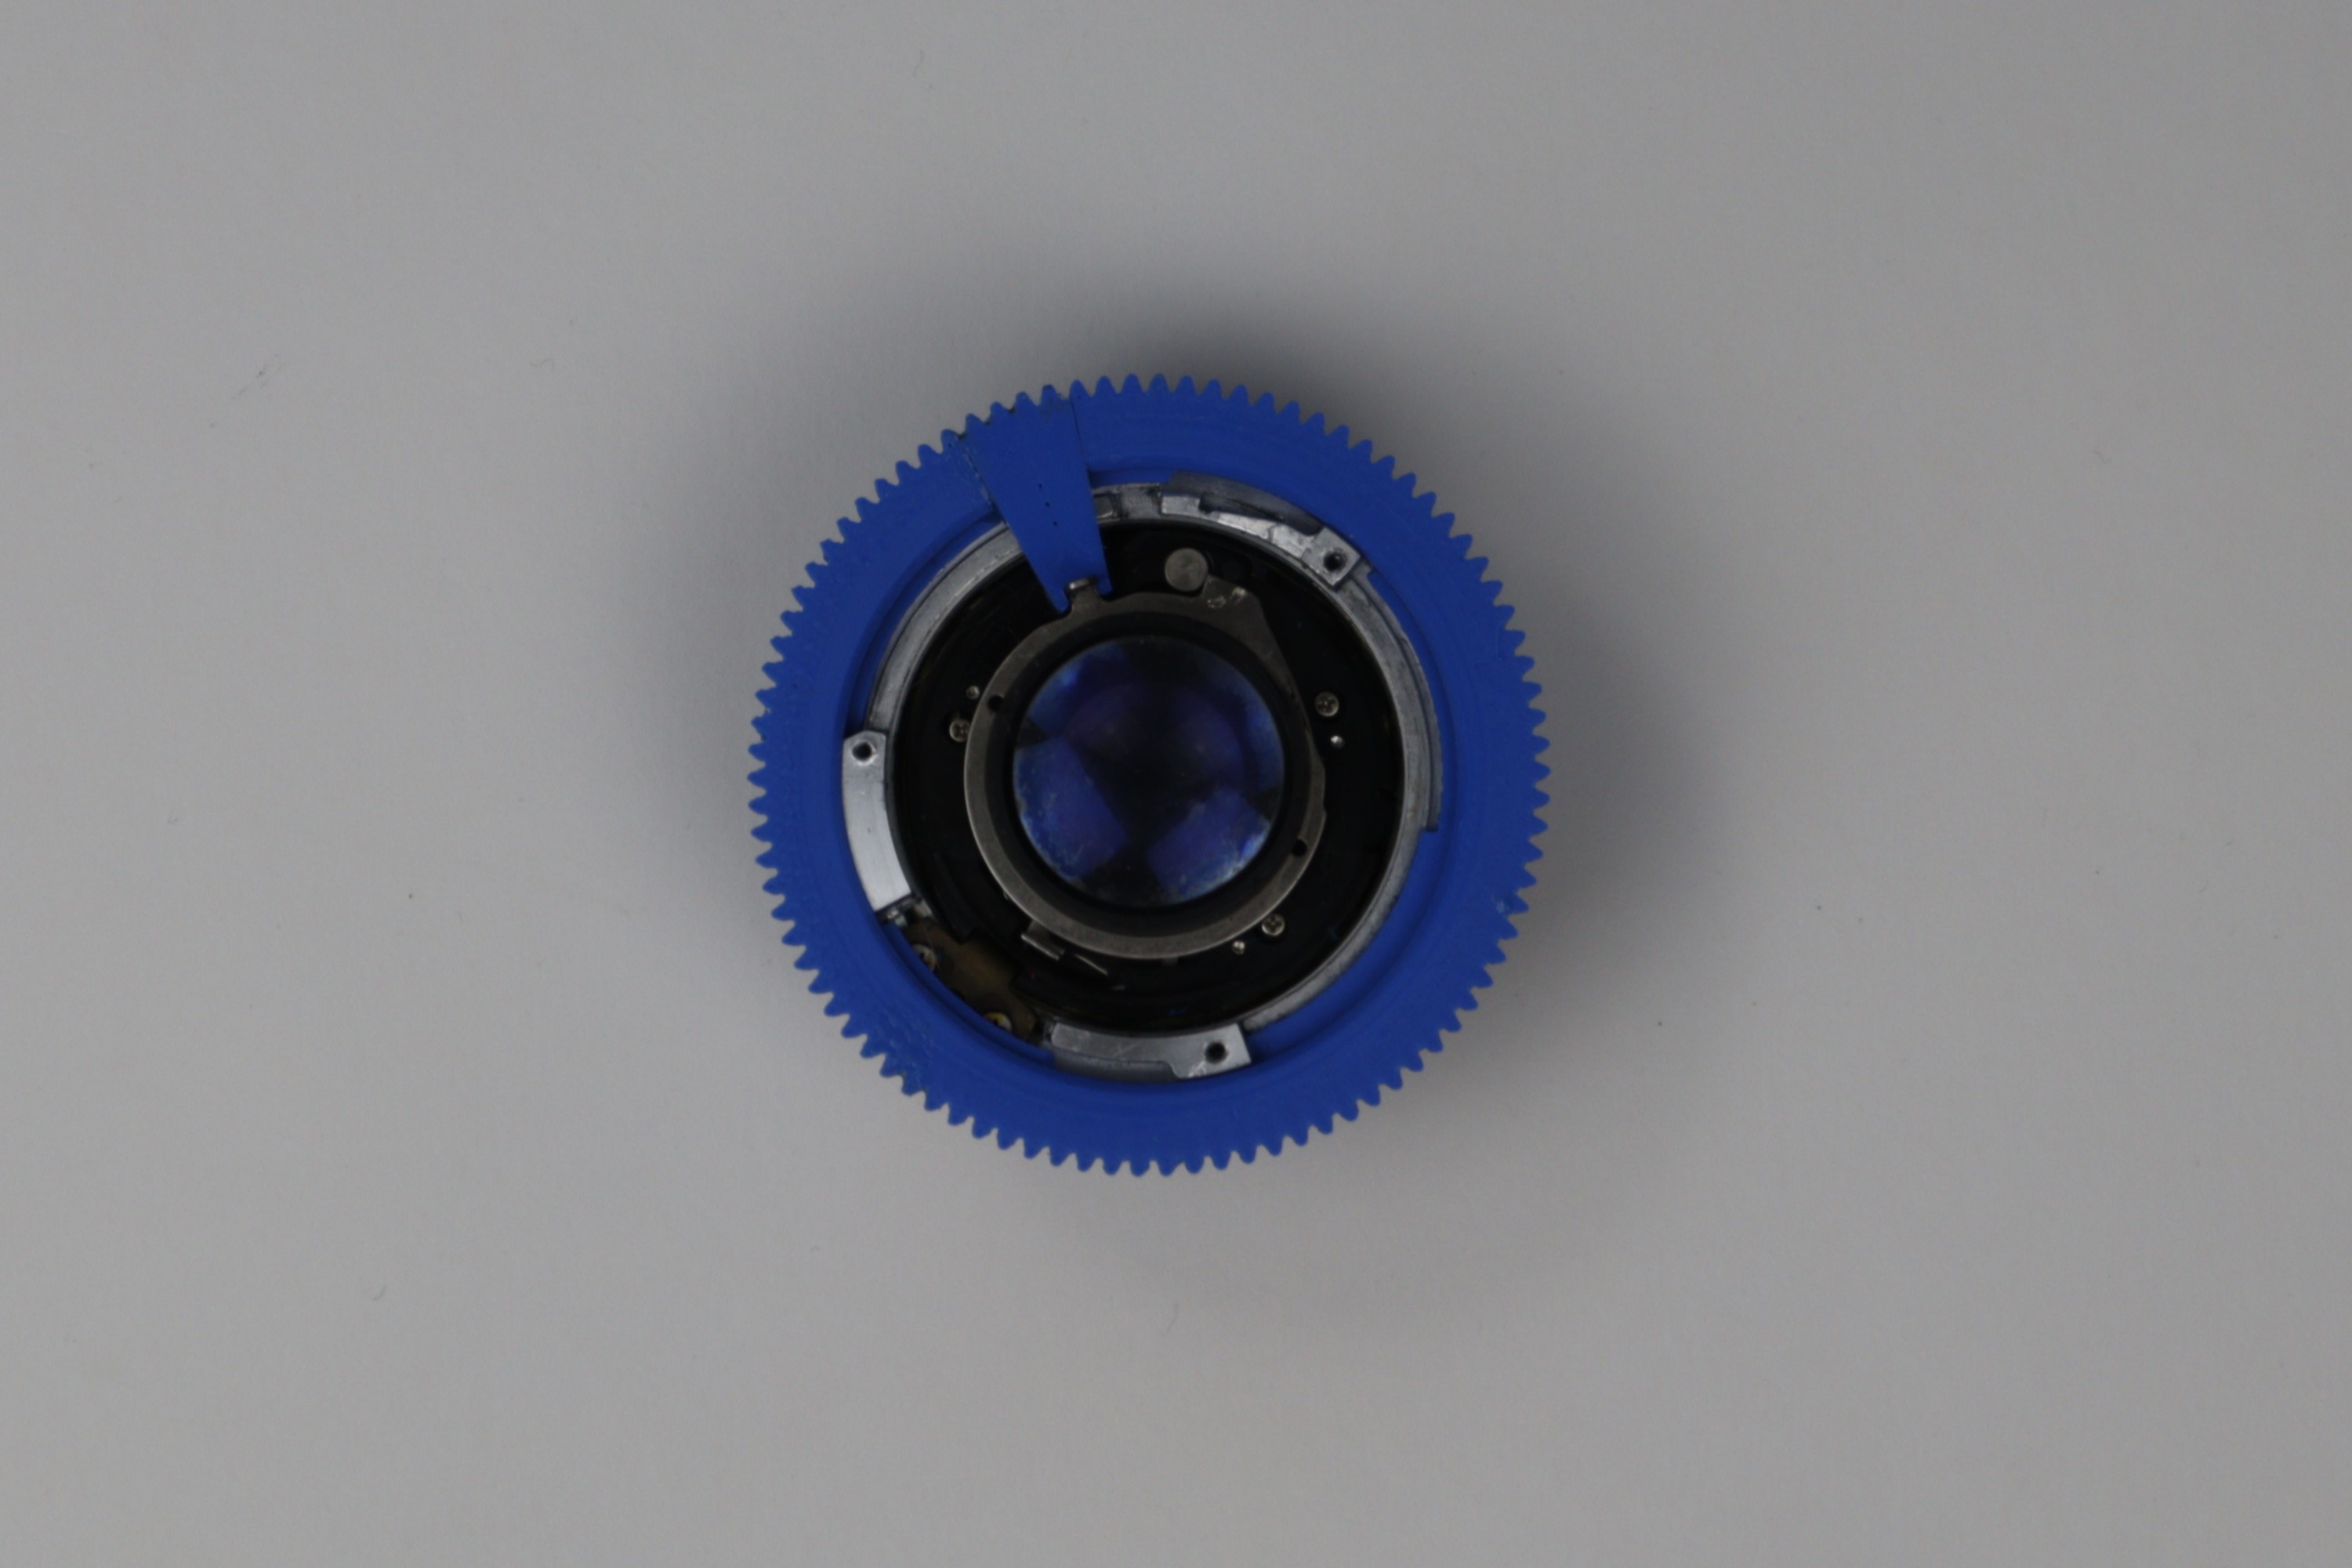
Step 8: Install Gear Aperture Ring
Put the gear aperture ring on the lens, aligning it with the middle peg on the iris. Do not force it.
Step 9: Install EF Lens Mount
Put the EF lens mount on, ensuring the odd screw hole is for the silver screw.

Step 10: Completed!
Reassembly is complete.