28mm f/2.8
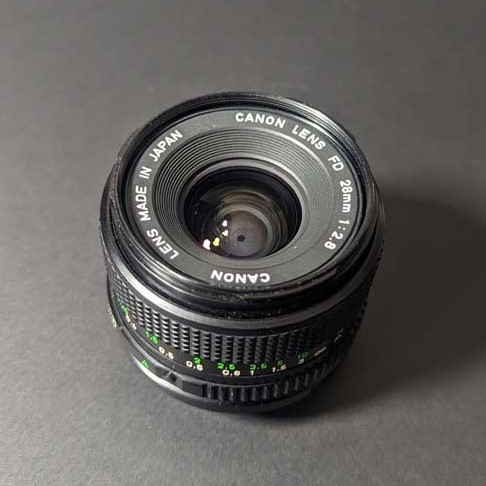
This guide provides step-by-step instructions for disassembling the Canon FD 28mm f/2.8 lens and preparing it for conversion.
Step 0: Requirements
Lens, Triple zero Phillips screwdriver, Plastics prytool (or equivalent).
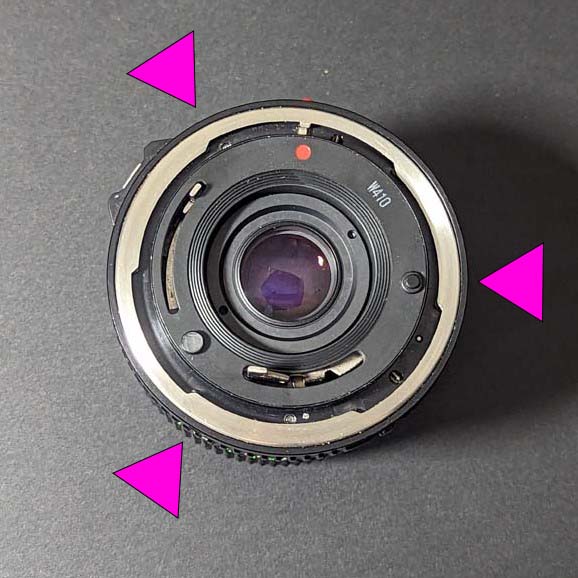
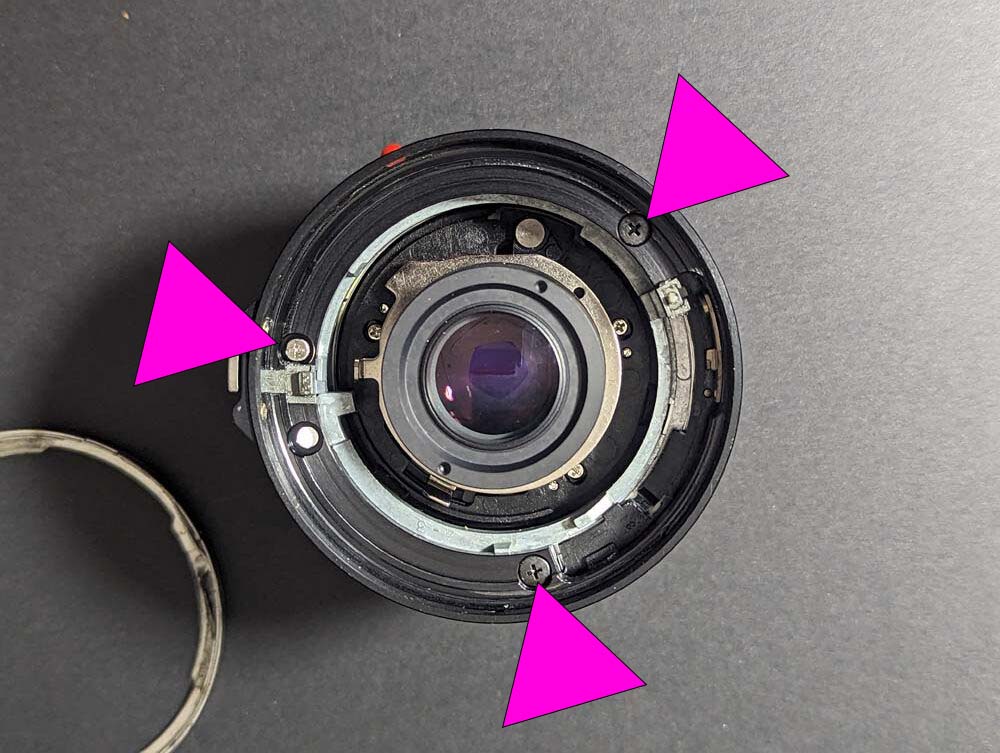
Step 1: Remove Screws
Remove the three screws outlined in the image.
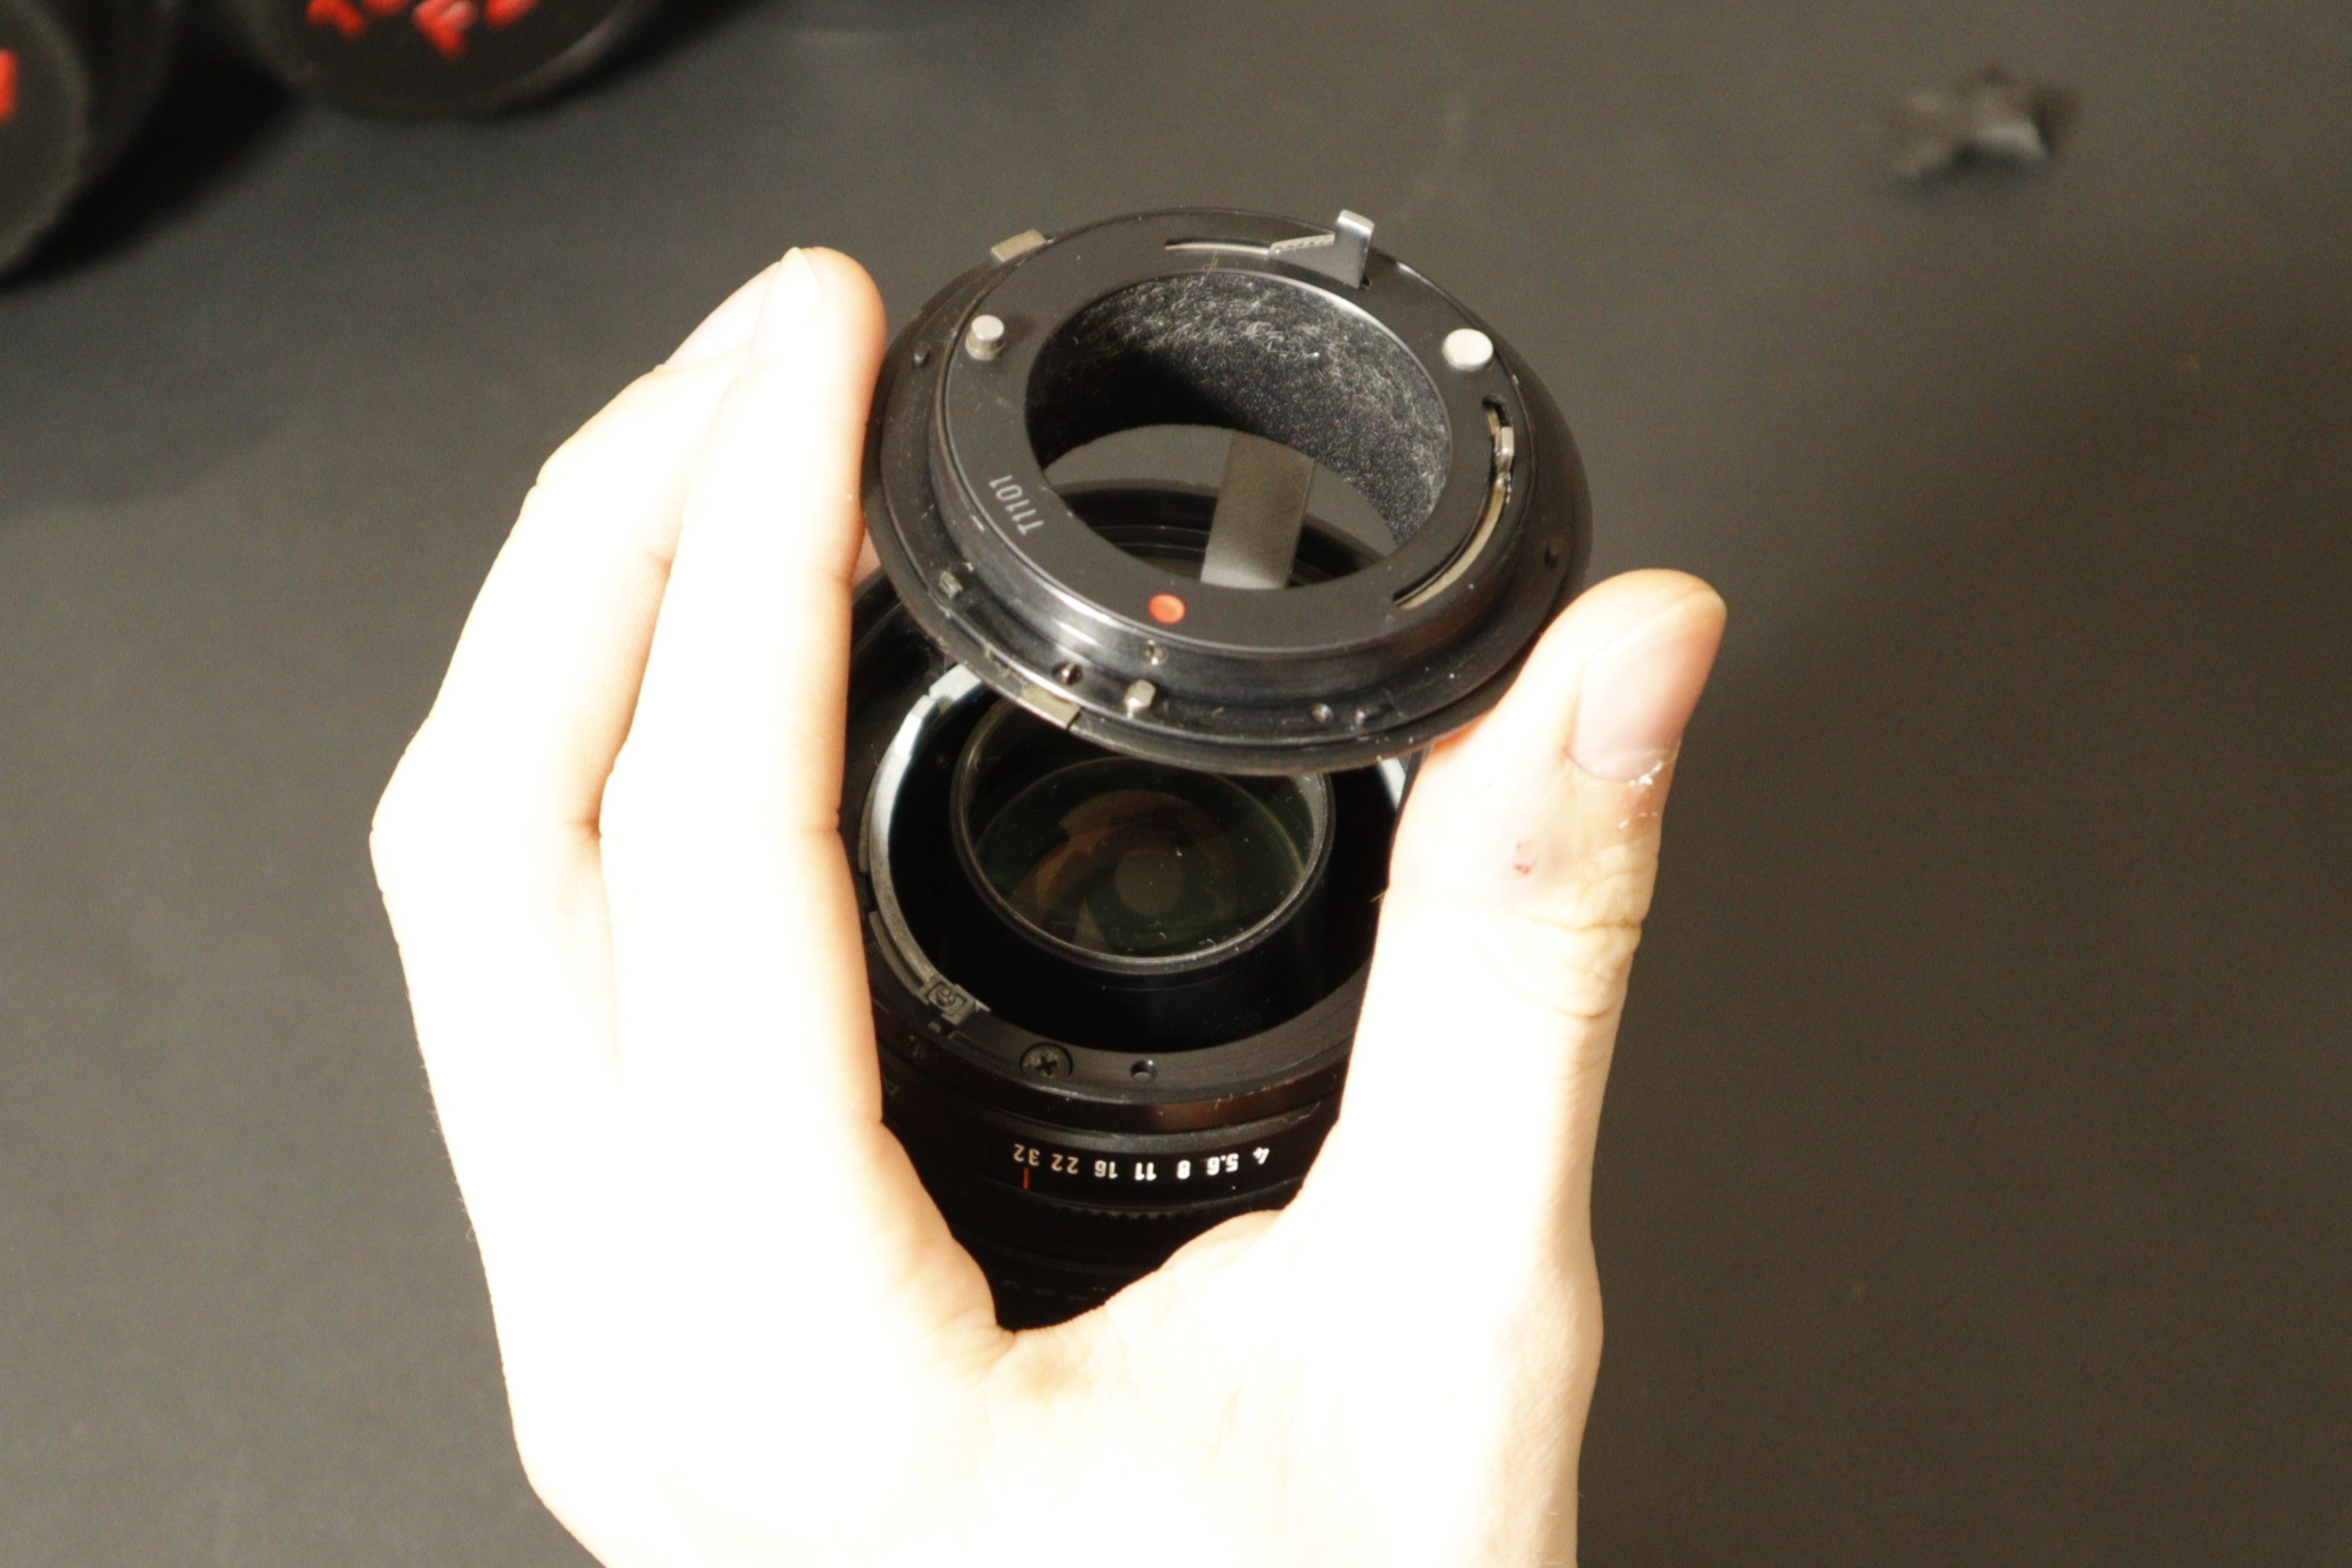
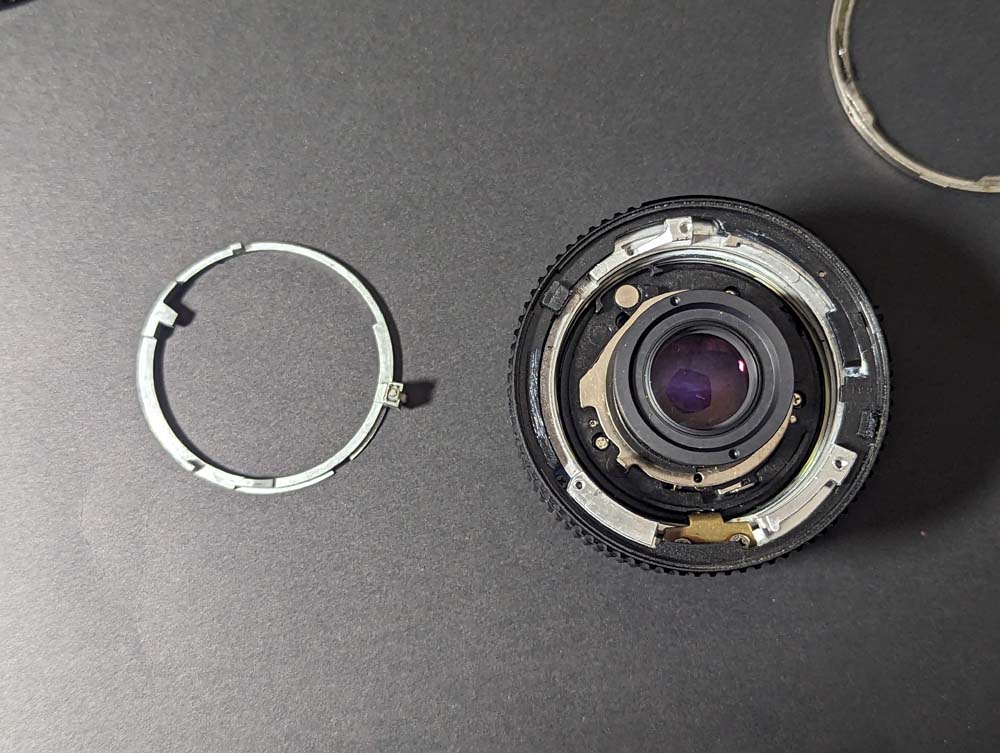
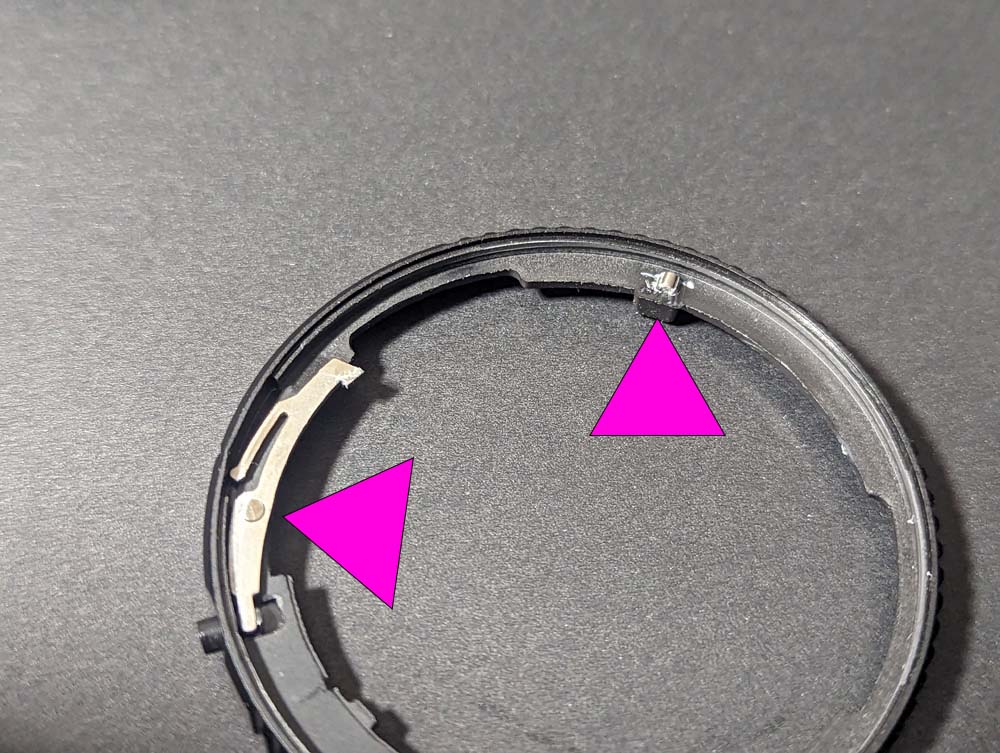
Step 2: Removing the Silver Ring
Note the image from the 28mm F/2.8 guide. It will look the same.
Gently circle around the ring, prying it up a small amount. These parts are not needed for the conversion kit, but if you would like to put them back together, proceed cautiously.
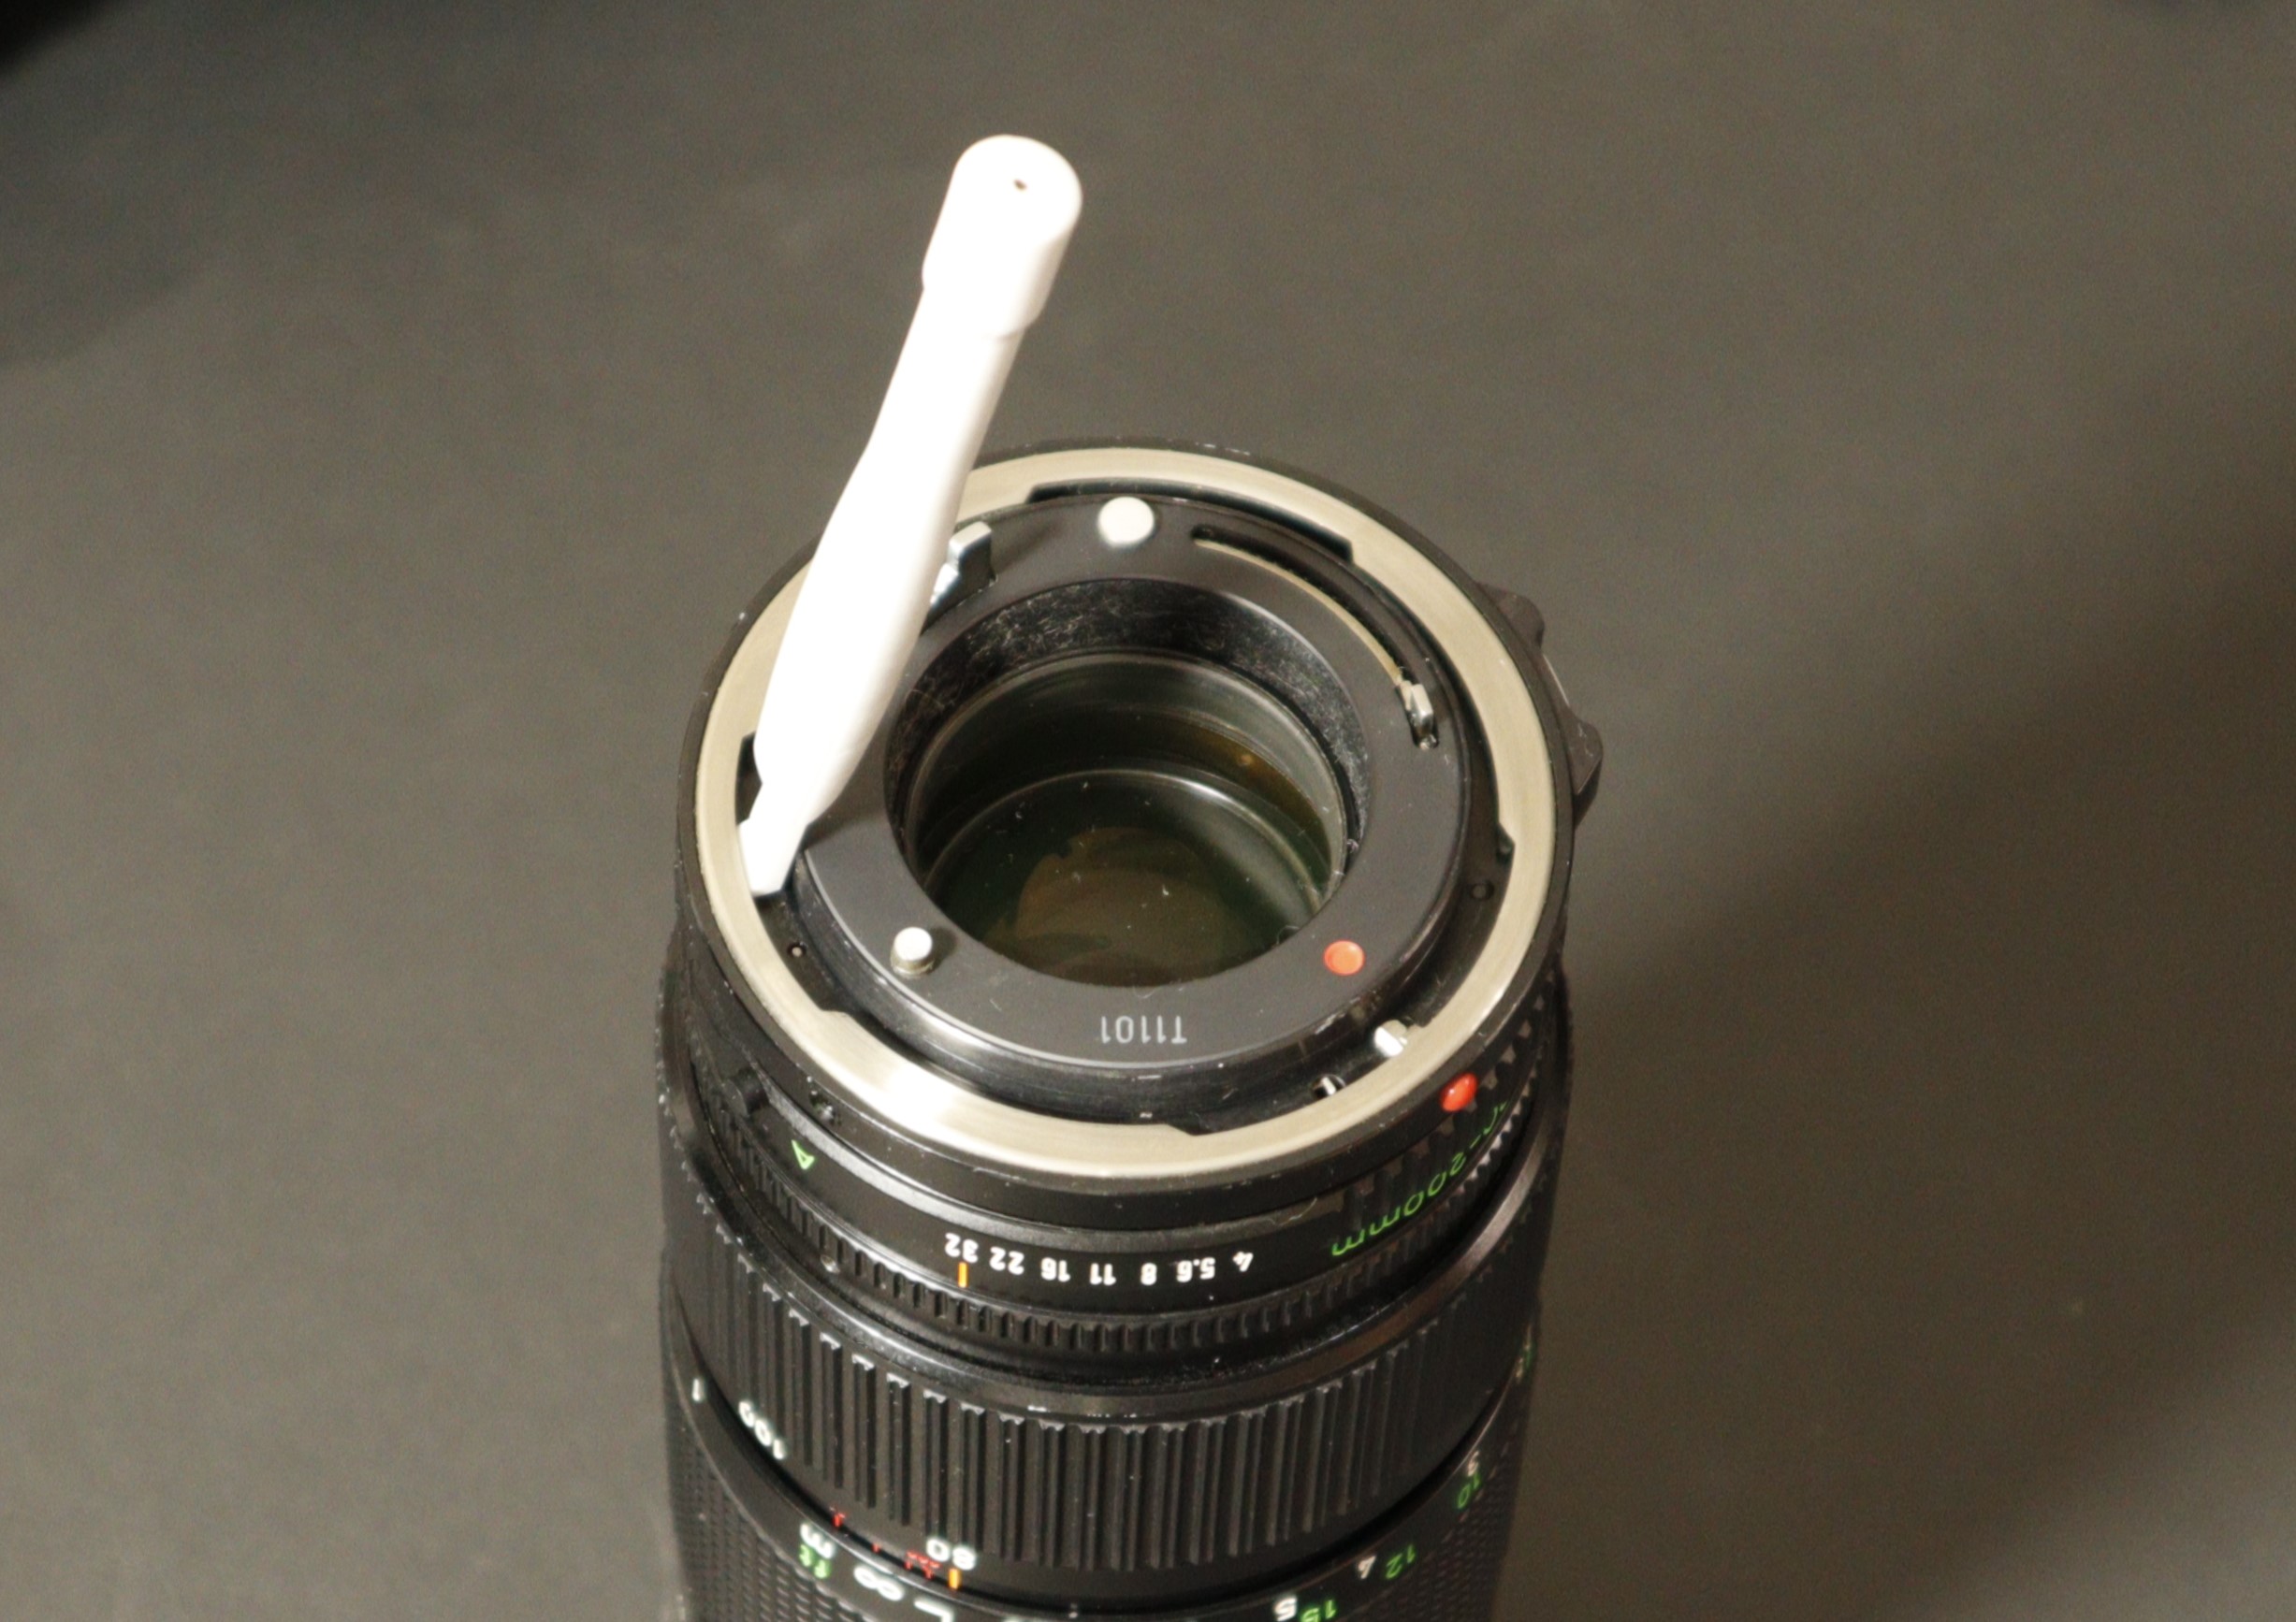
Step 3: Remove Aperture Control Interface
Note the image from the 80-200mm f/4 guide. It will look the same.
Pull up with an orthodontal twisting motion, as this piece is under spring tension.
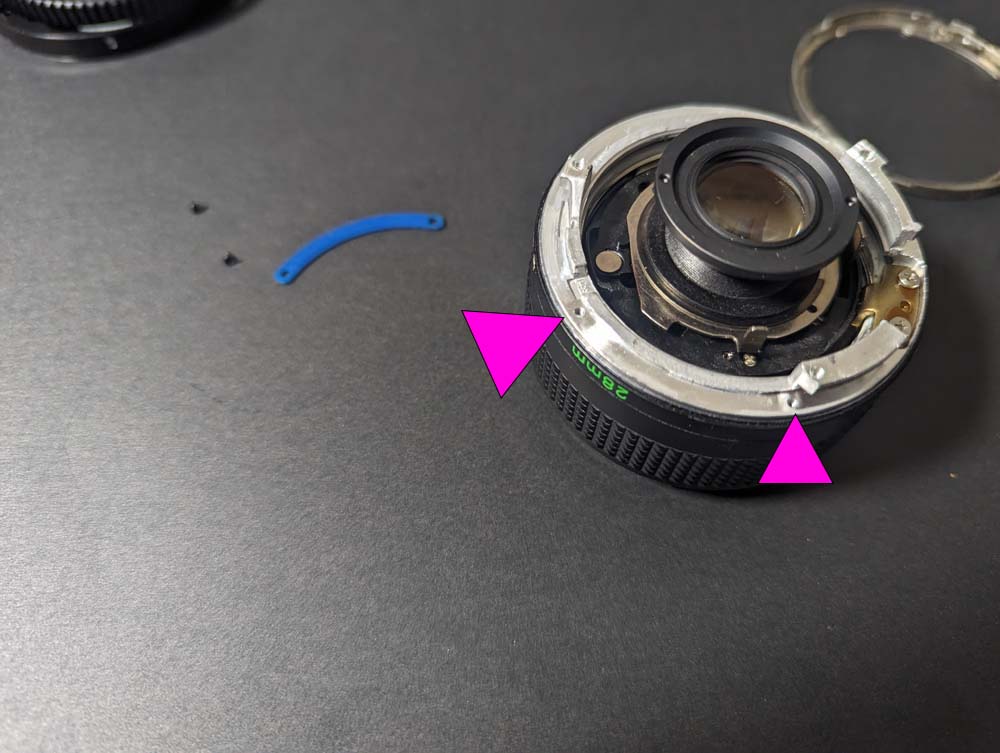
Step 4: Remove Additional Screws
Remove the three screws shown in the image and keep them safe for mounting the new lens.
Step 5: Remove Inner Aperture Control Ring
Carefully remove the inner aperture control ring. This part can be difficult to remove. Ensure to apply even pressure upwards away from the lens. Tilting it may cause damage to this part. These components are not required for the conversion kit, but if you wish to reassemble them, proceed with caution.
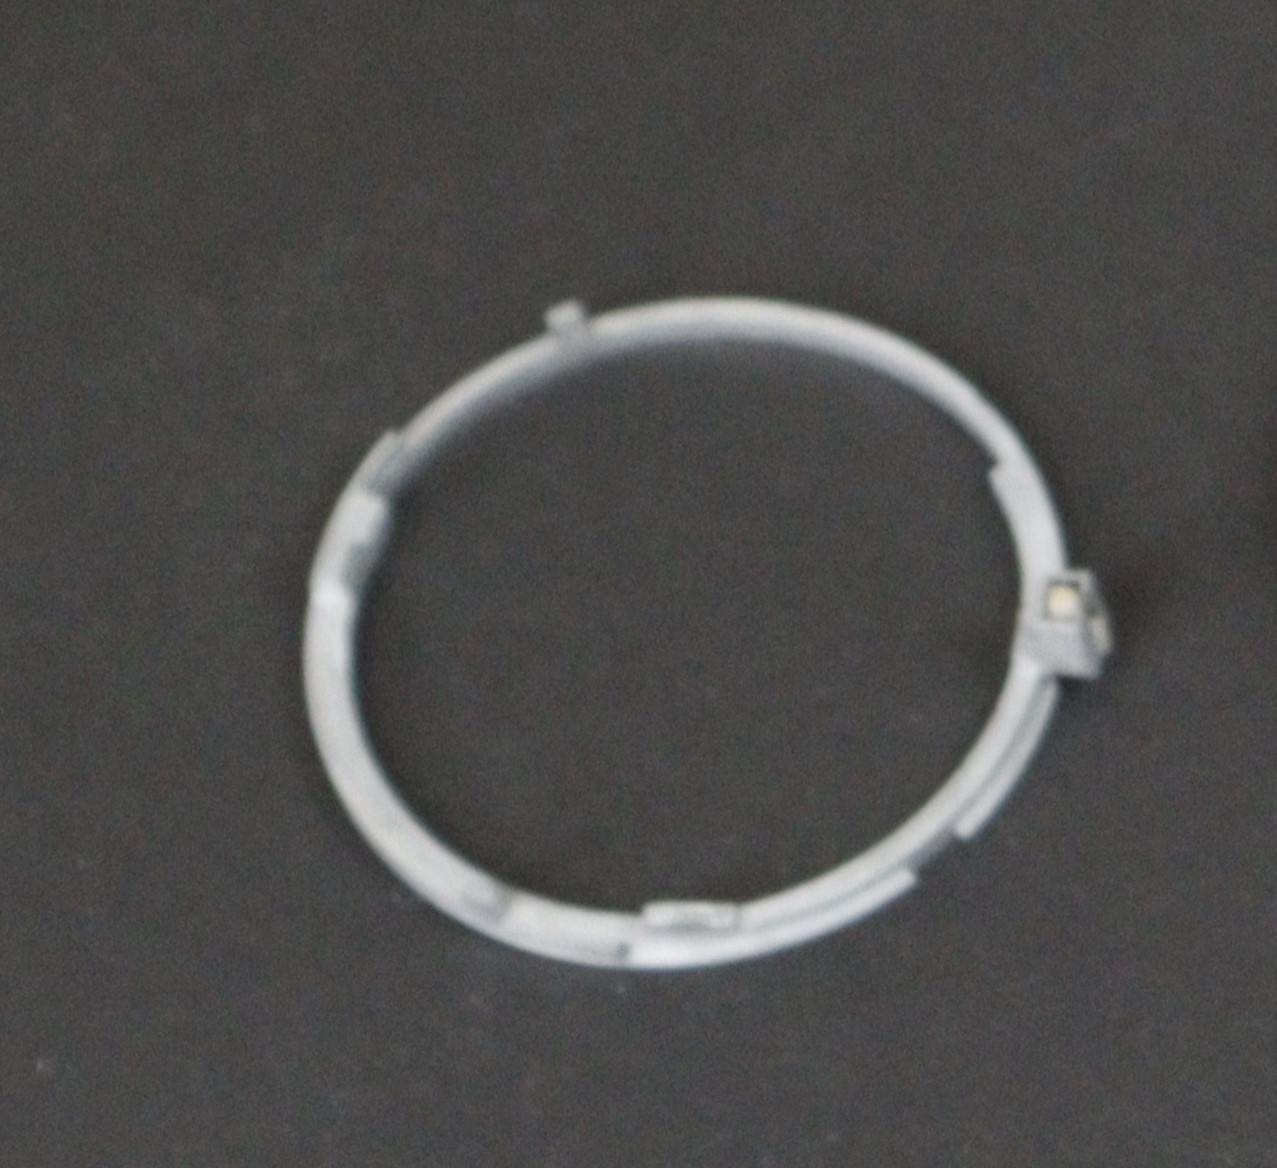
Step 5.1: Image of the inner aperture ring.
This is a zoomed picture of the inner aperture ring.
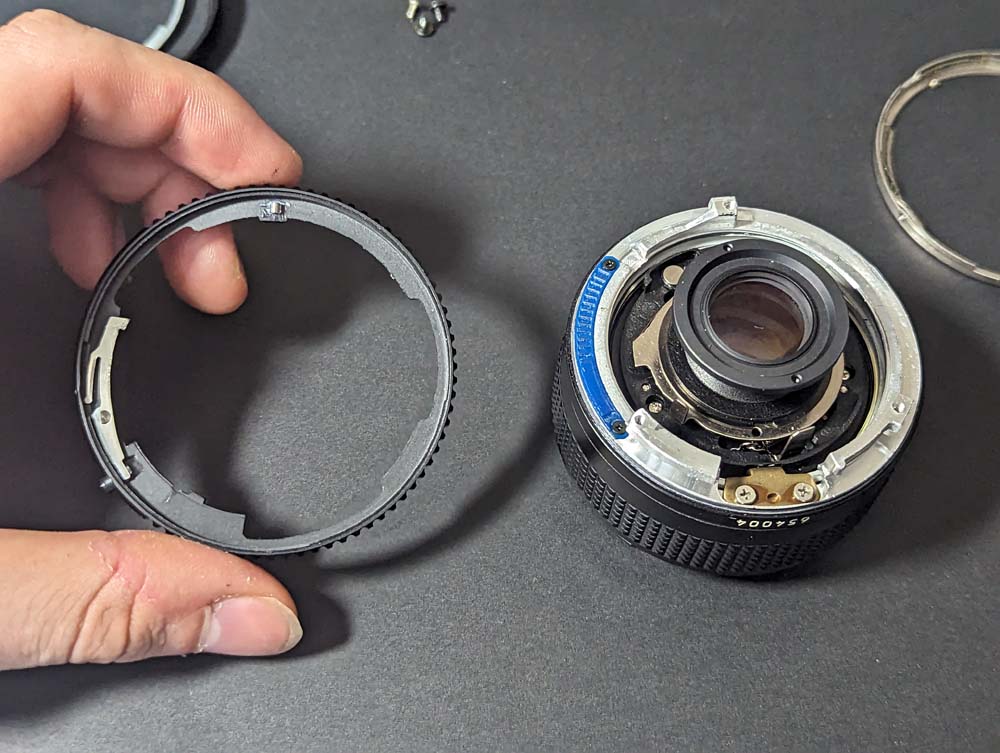
Step 6: Remove Outer Aperture Control Ring
Remove the outer aperture control ring.
Step 6.1: Cautioned small parts
Pay attention to the automatic lock and aperture click detent They are friction fit And can be easily lost .
Step 7: Remove Aperture Control Click
Remove the two screws responsible for the aperture control click.

Reassembly of the lens
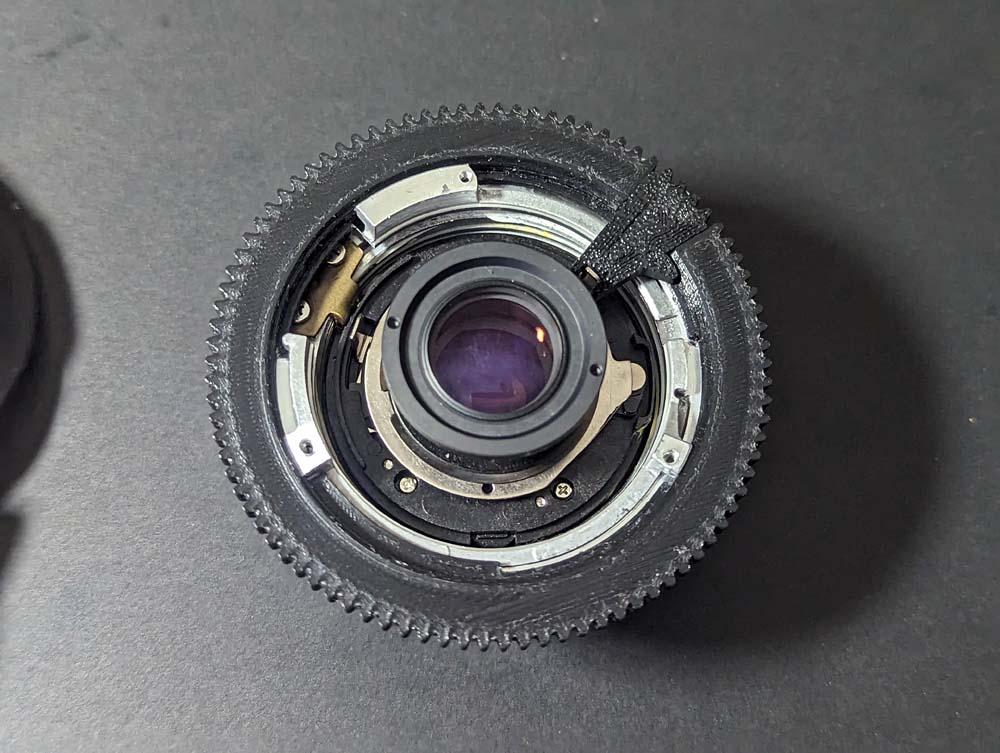
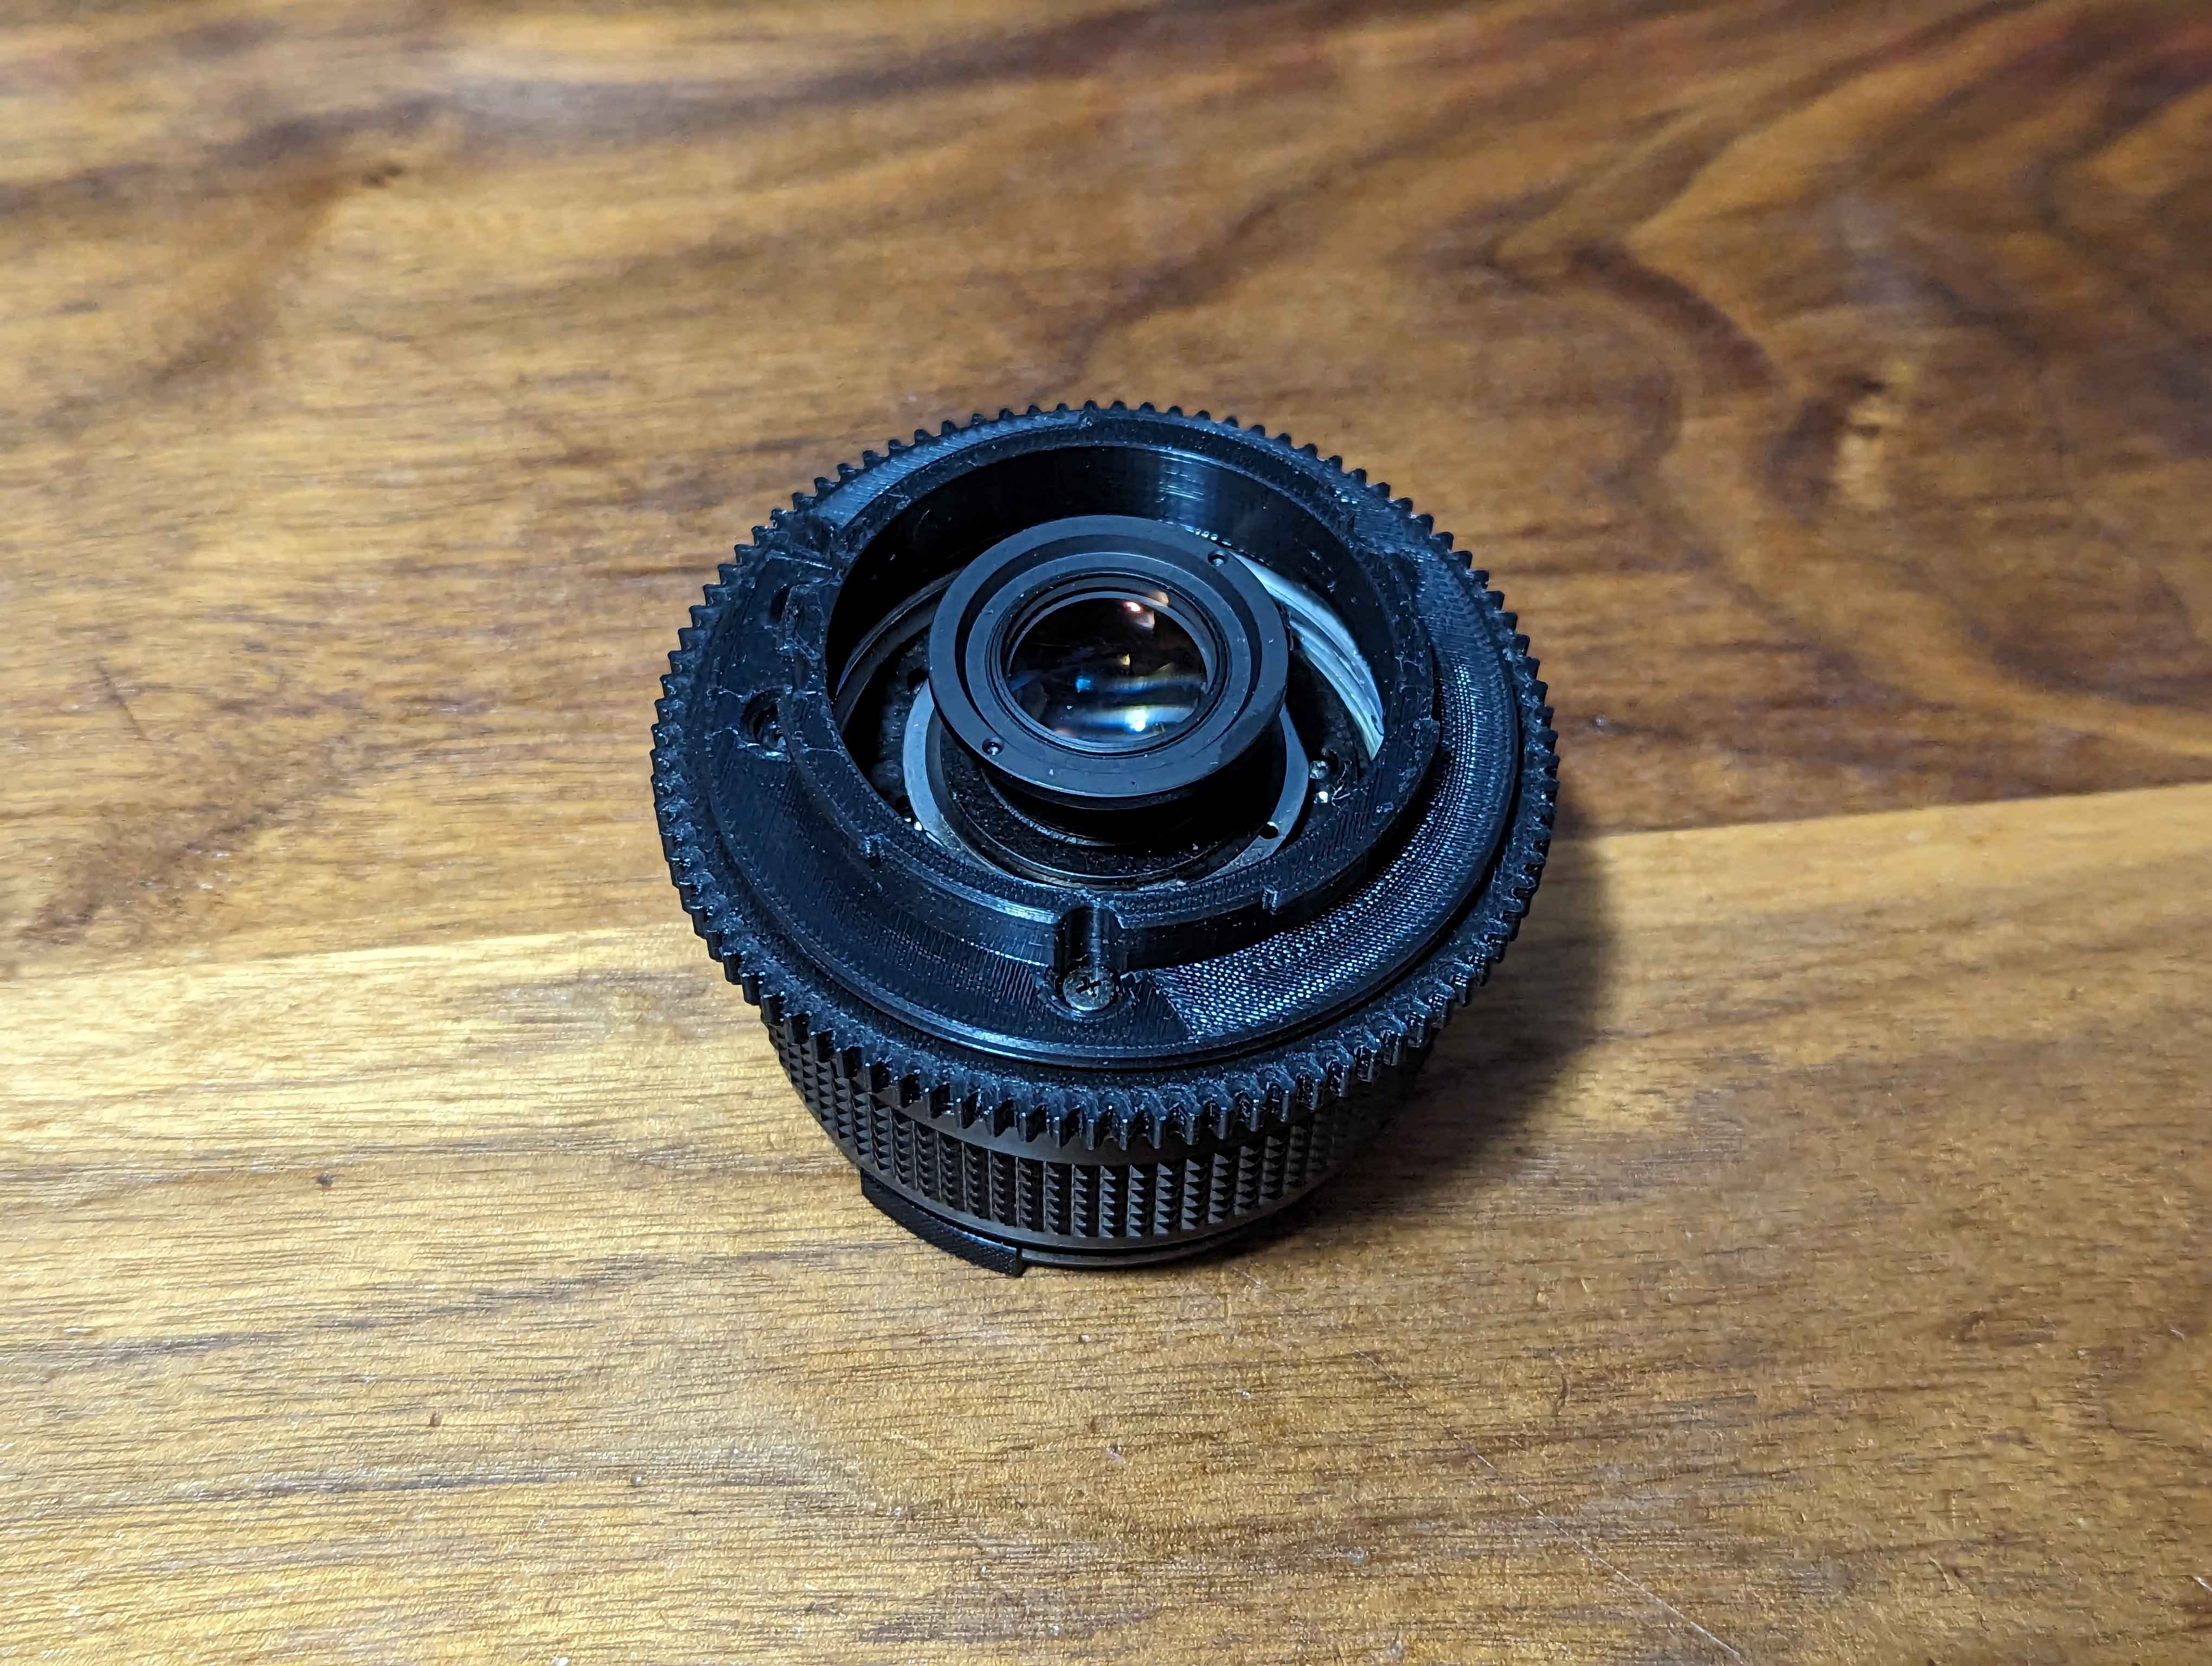
Step 8: Install Gear Aperture Ring
Put the gear aperture ring on the lens. Ensure it fits properly without forcing it, aligning it with the middle peg on the iris.
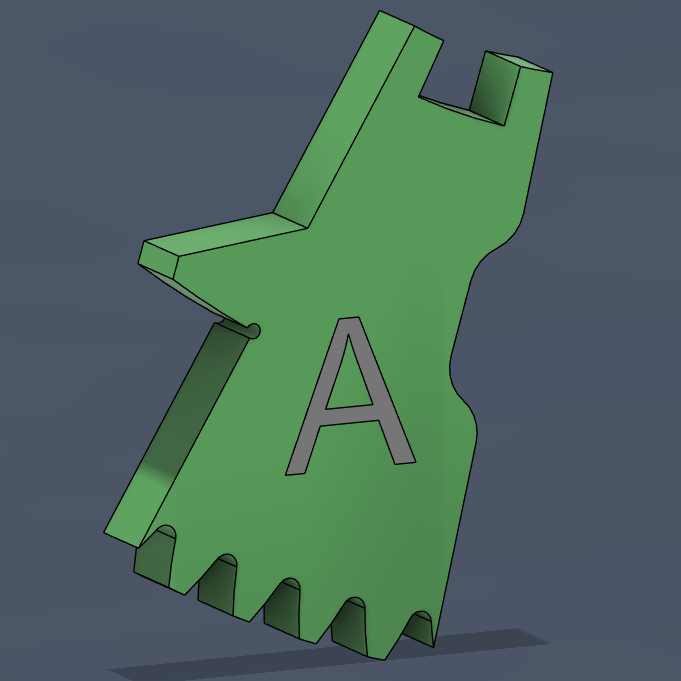
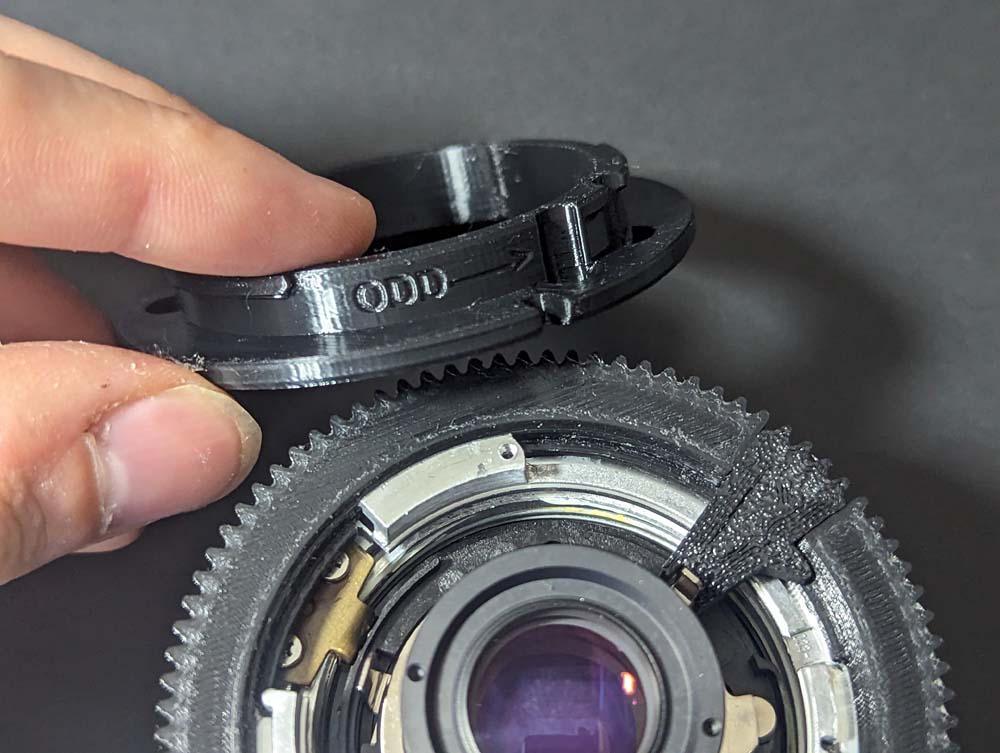
Step 8.1: Use the A key
Install the A key in the aperture control ring. The letter should face upwards, away from the lens. Align it between the two prongs of the lens aperture control ring.
Step 9: Install EF Lens Mount
Note: The animated image is from the 50mm f/1.8 guide and will look similar.
Align the screws as indicated in the GIF. The silver screw goes in the spot labeled as 'odd'. All four screws should be installed.
Step 9.1: Attach EF Lens Mount
If the holes do not line up, rotate the lens mount 60 degrees or until the next hole aligns. Not all hole spacings are the same. There is only one correct way that this fits on.
Step 10: Finish Assembly
Your lens assembly is complete!